| Bodywork | ||
| HOME
|
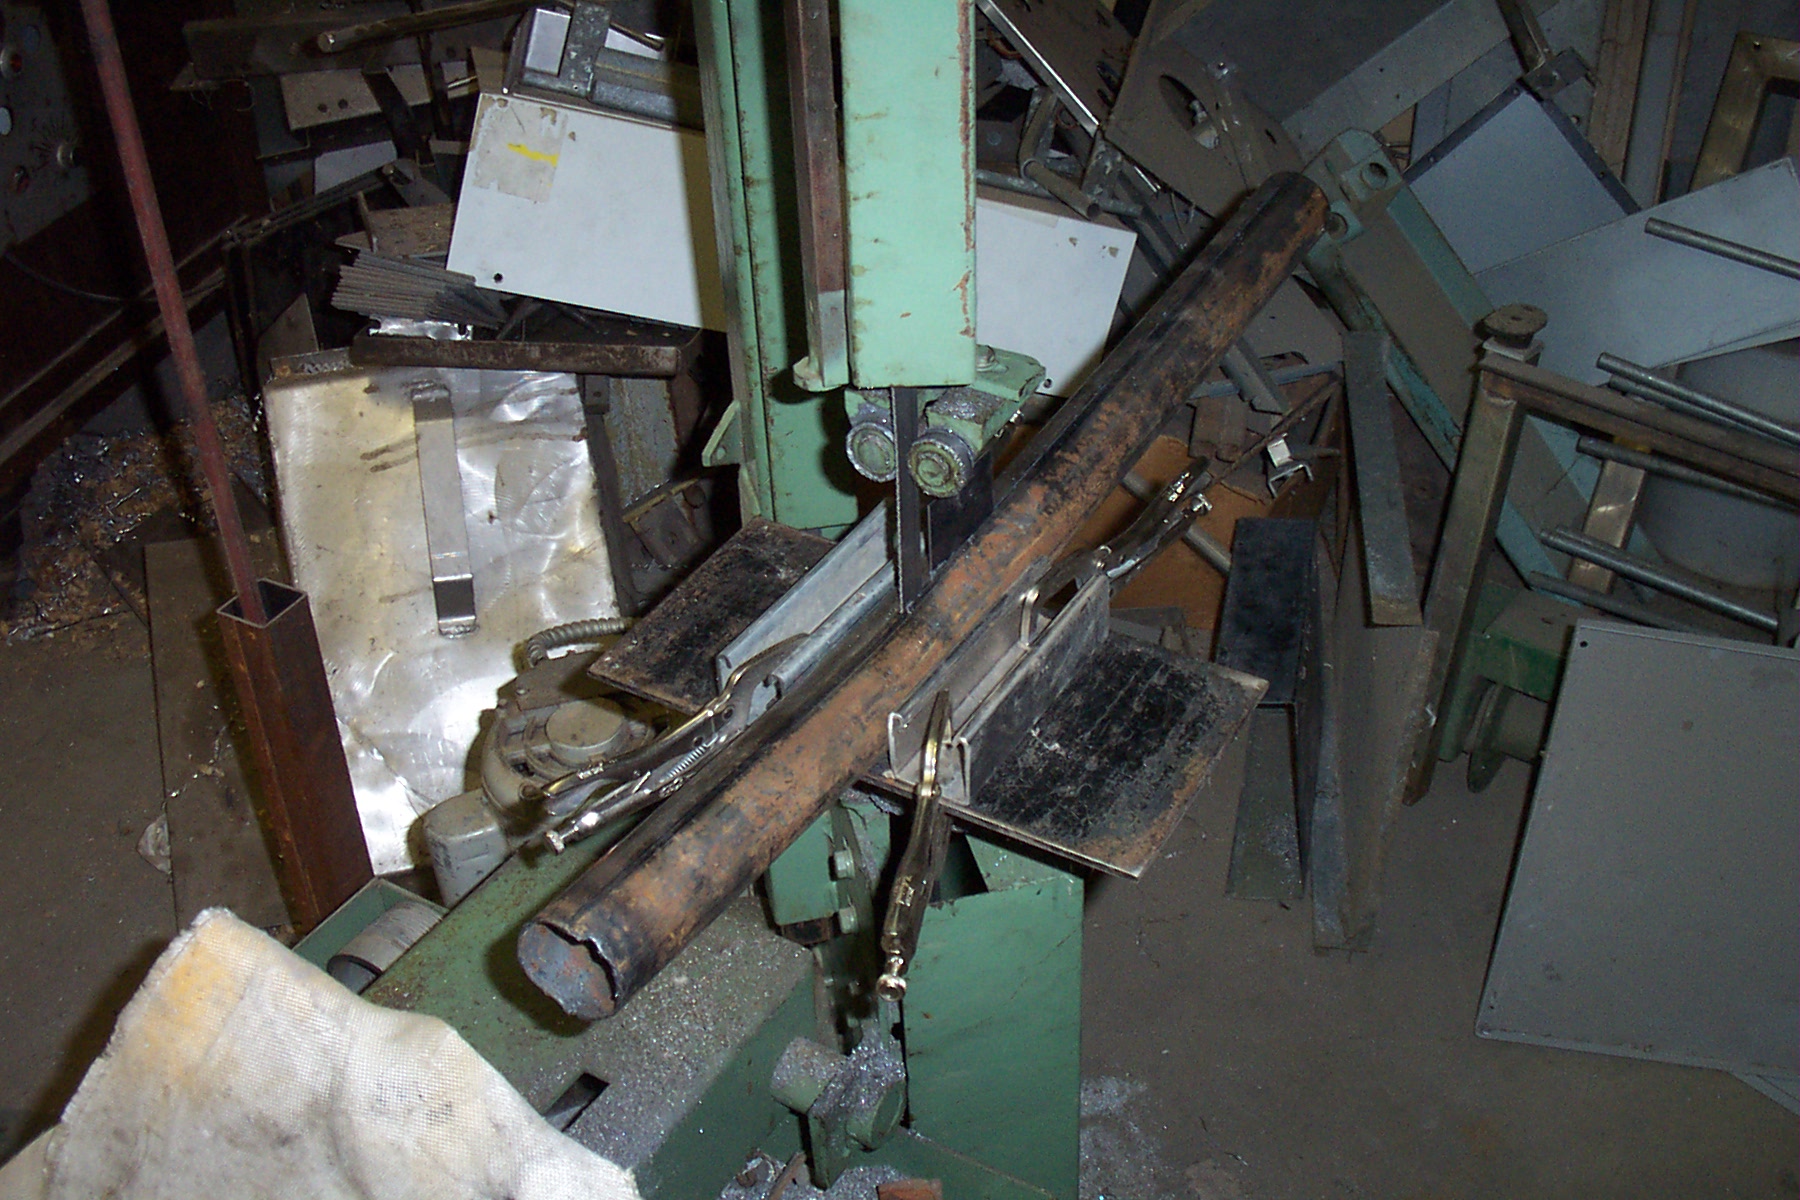
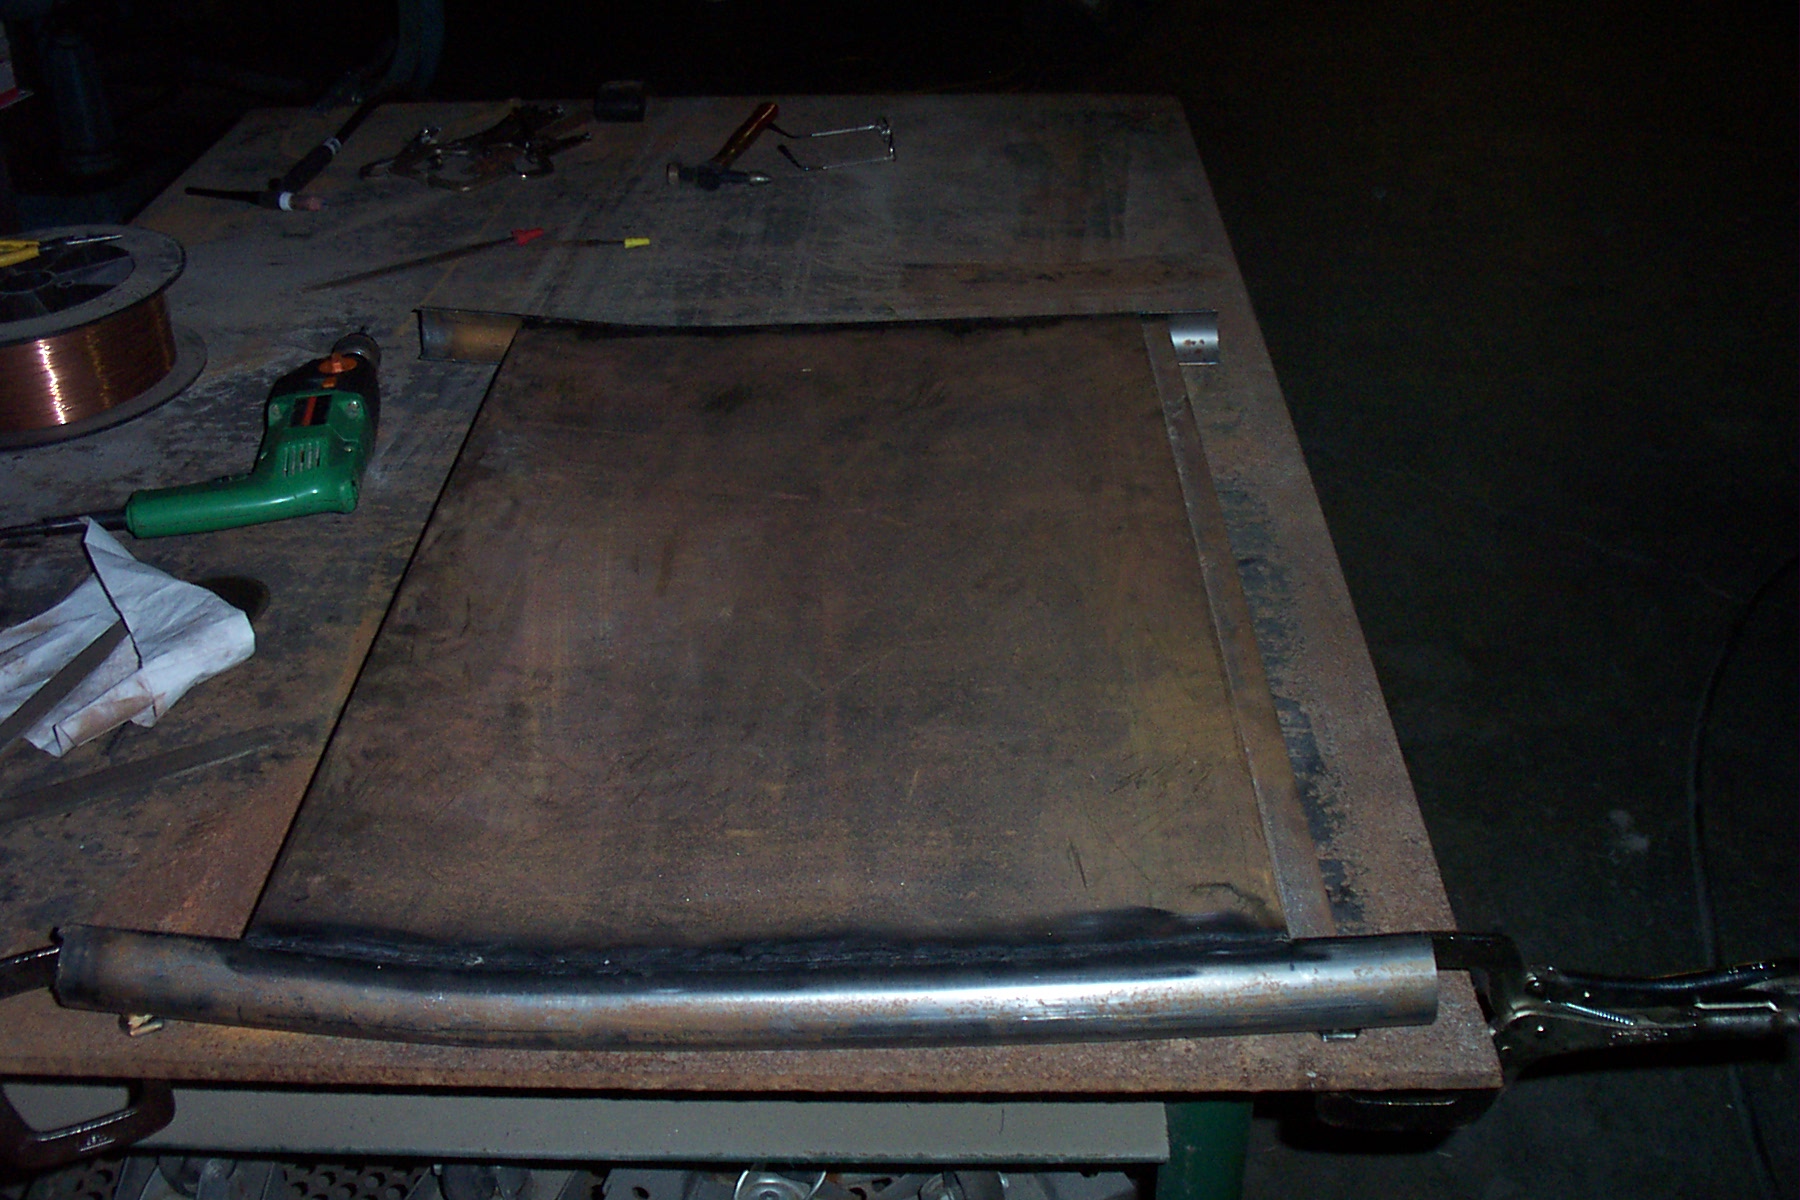
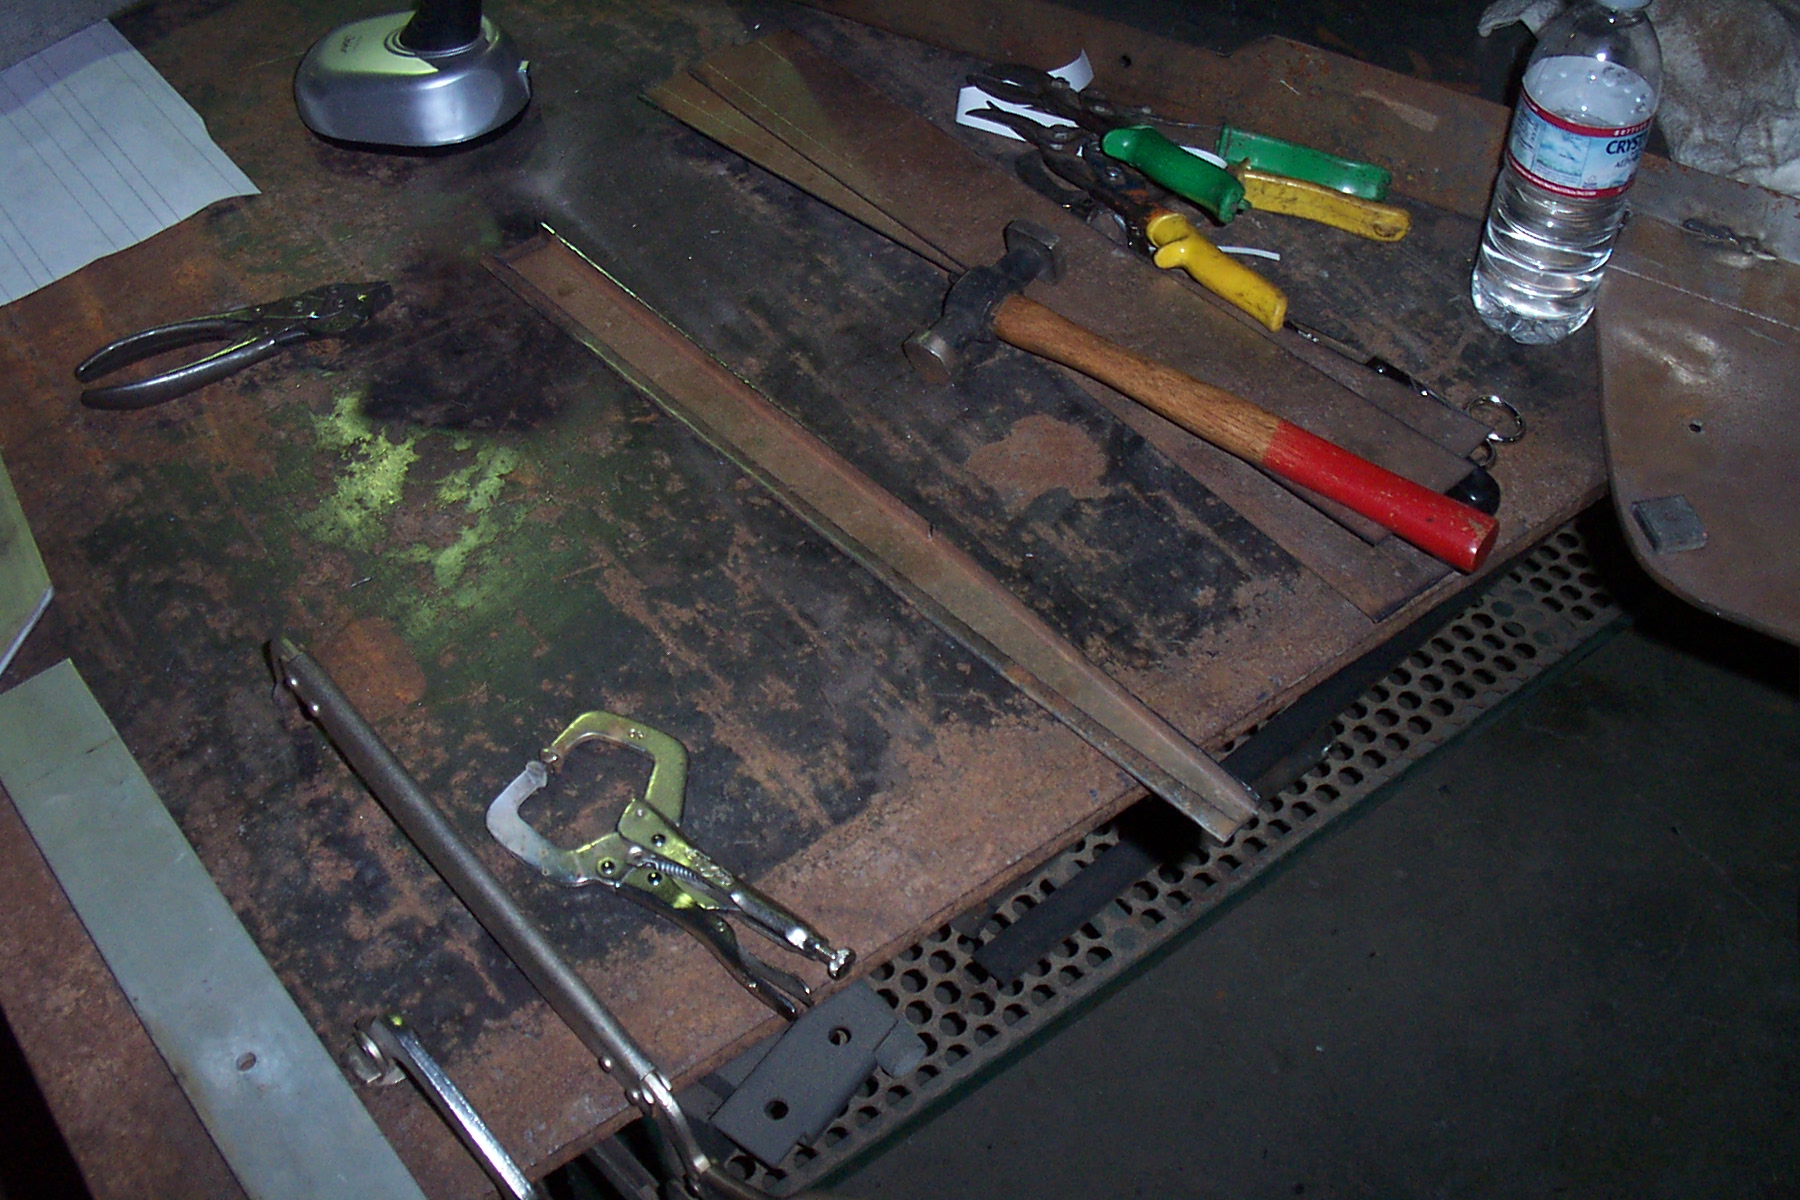
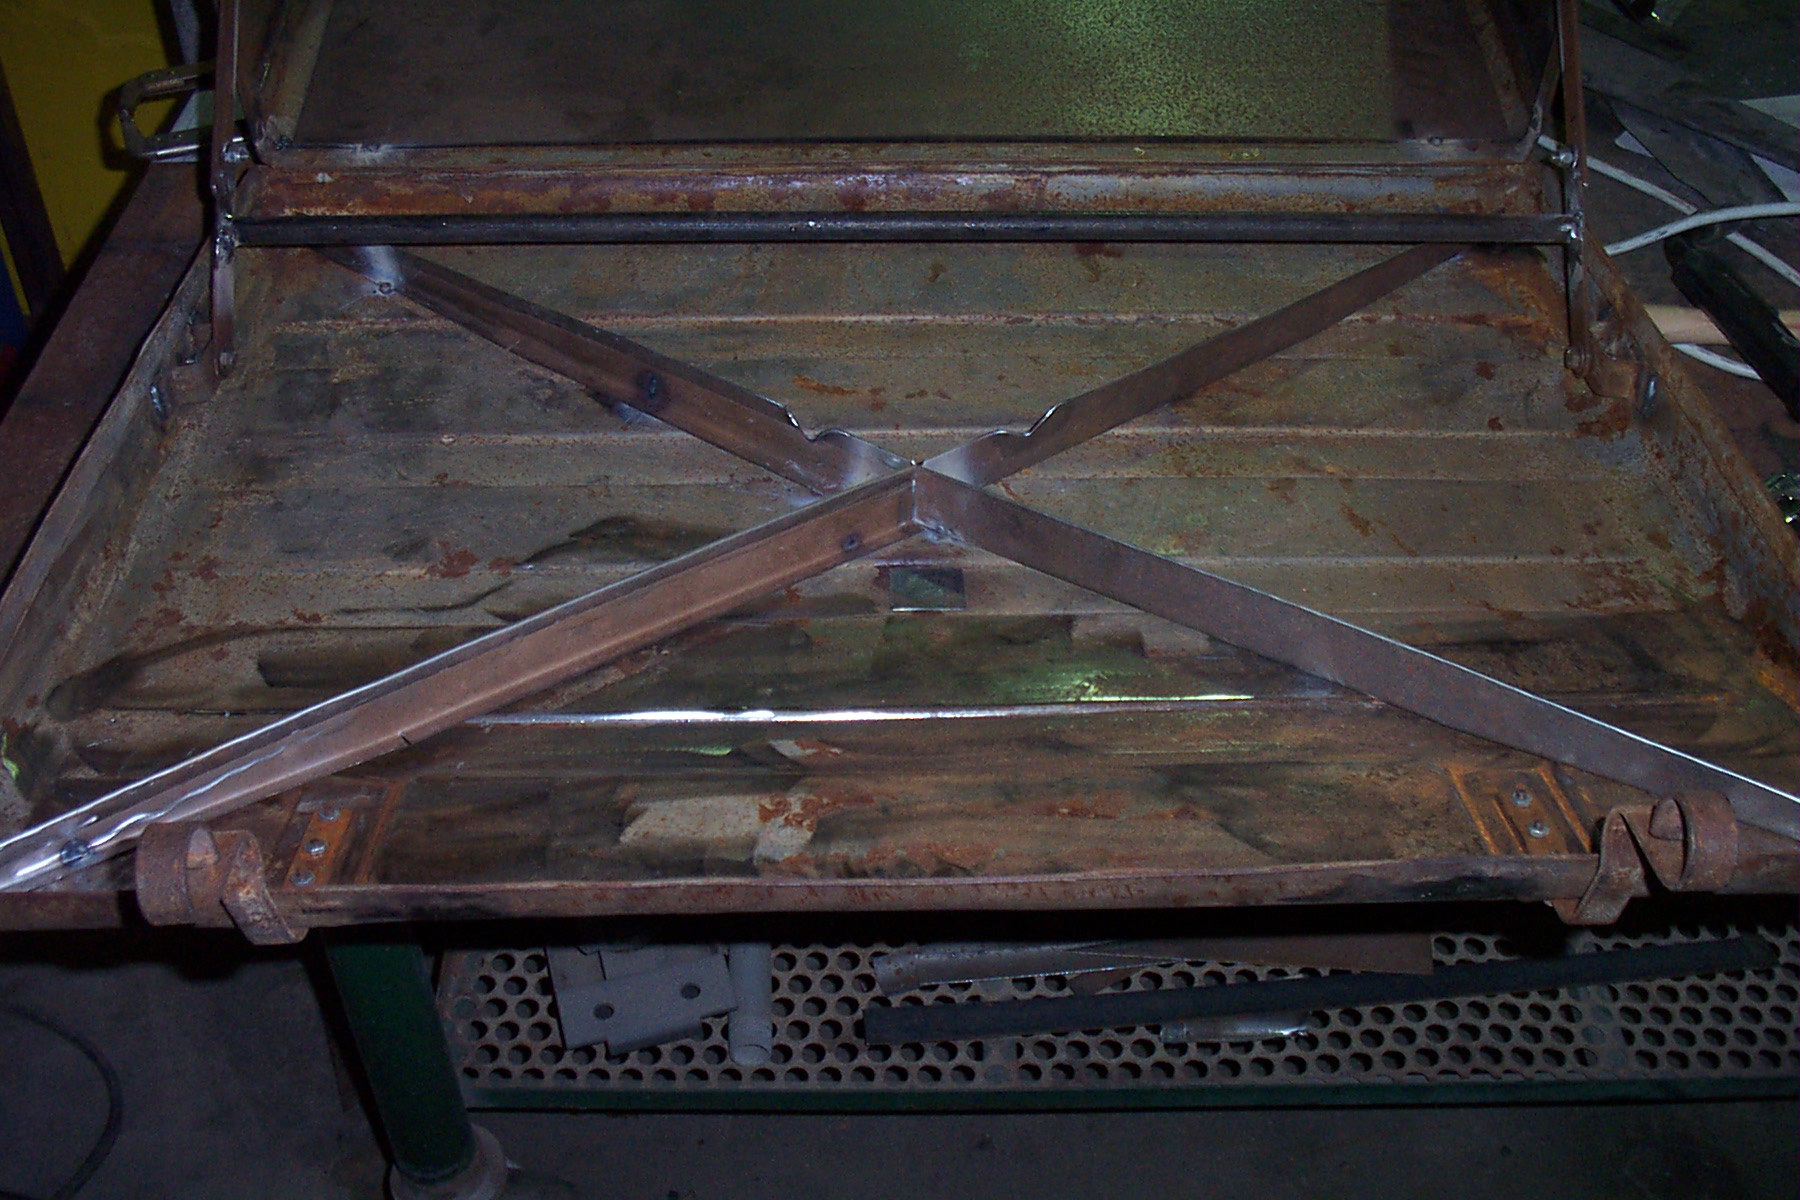
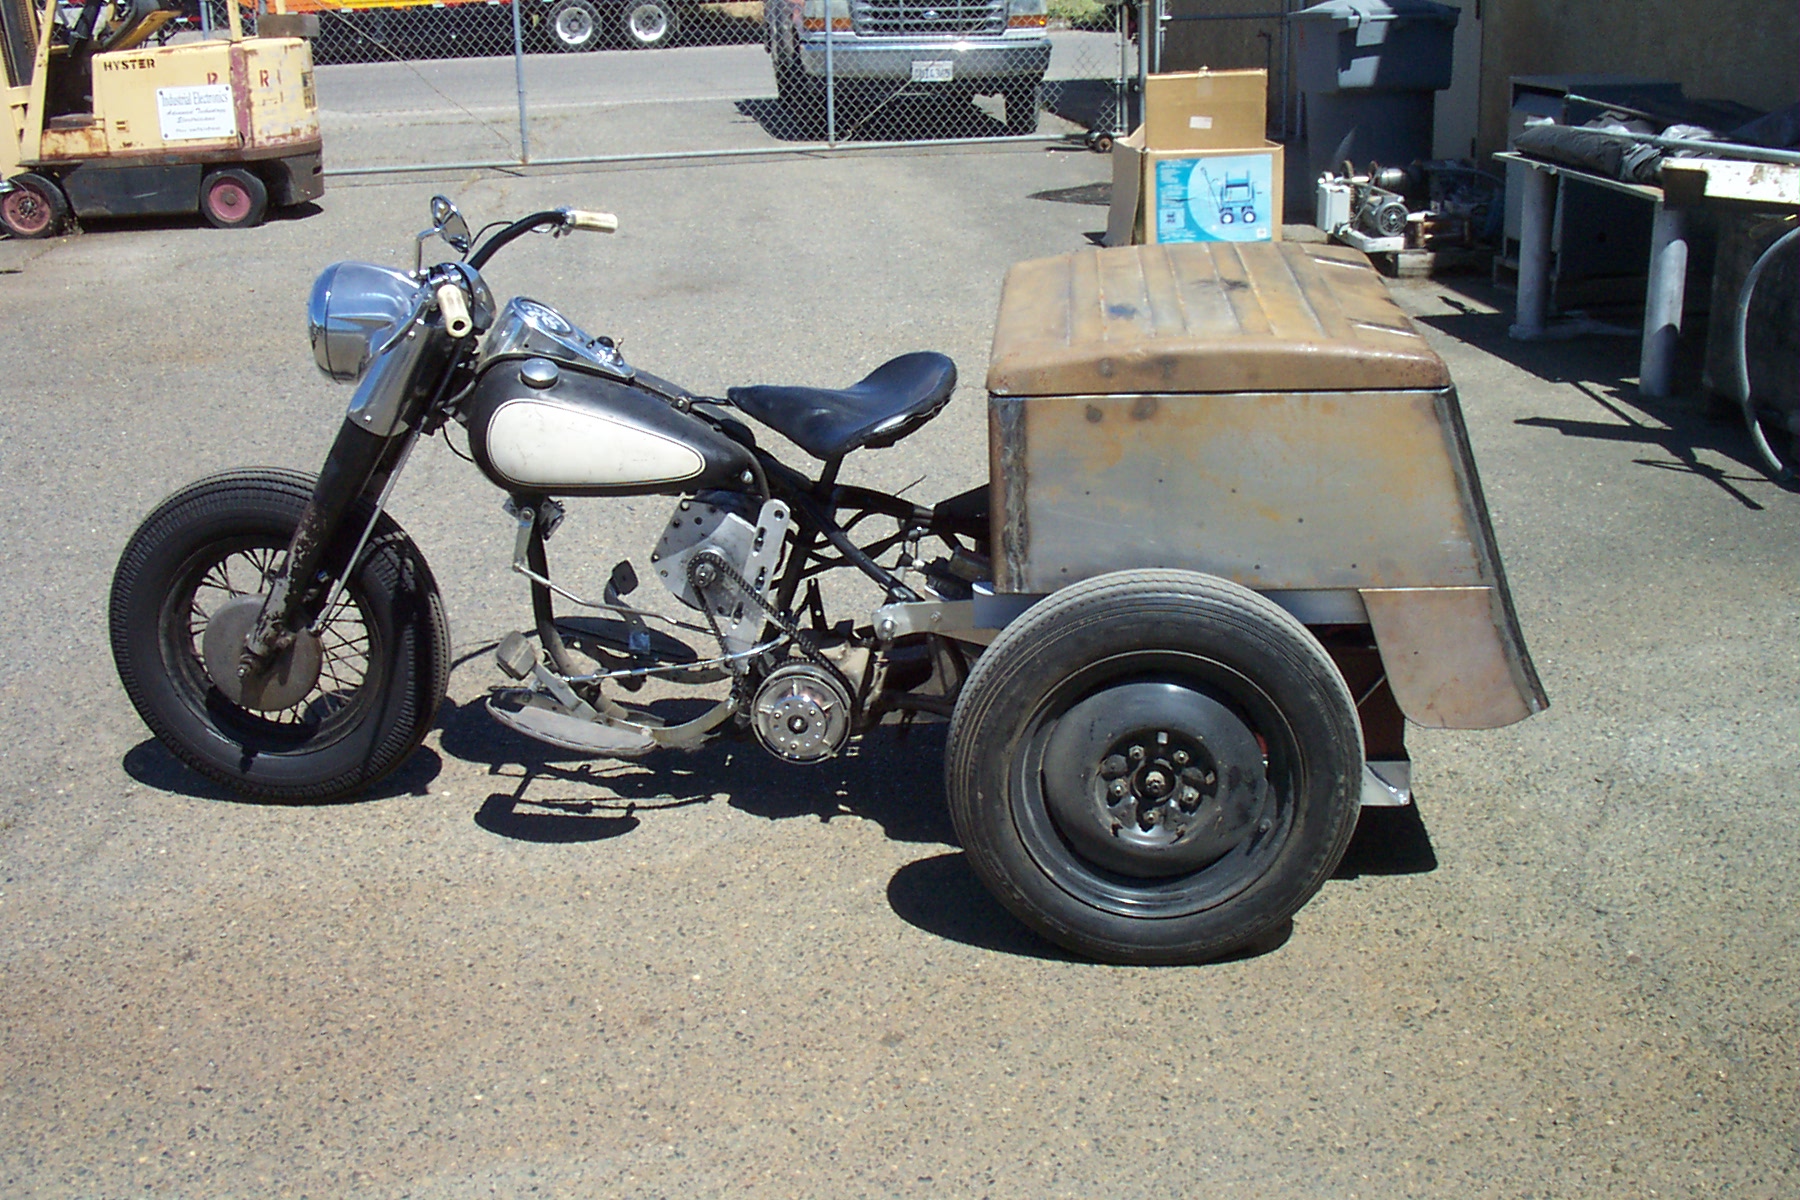 Body First Test Fitting After asking for and waiting for help from a friend who has bodywork experience and also waiting for a local body shop that I had done some work for, I finally gave up and decided to tackle the bodywork myself. The way I looked at it, the body I had was not useable and if what I did didn't work out, then I hadn't lost anything other than the time I spent trying it. So far, I am pleased with how it is working out. Back when I had purchased the Servi, I had some replacement panels broken by a sheet metal shop owner/friend. He had made two side panels, a new back panel, new lower rear quarter panels, and two panels to fit inside the side panels. The problem lay in the back panel in that it has a small "duck back" at the bottom and both sides needed to curve to the side panels on a 1" radius. After many discussions of various methods to make that panel from use a punch press to make the corners and get a metal strecher/shrinker off of ebay to stretch it a little to form the duck back, to clamp it on the bench and bend the corners by hand. I came on the idea of using a piece of 2" tubing and bending the duck back with a conduit bender, cutting the tubing effectively into quarter rounds, and welding it onto the back and side panels. Below is a picture of the tubing being cut to make half rounds for the first weld and a view of the back panel welded to the tubing.
I left the tube in a half round to keep some rigidity as I welded it onto the back panel and then cut the excess off to make the corner for the side to weld to. This method created twice as much welding, but it got the box built.
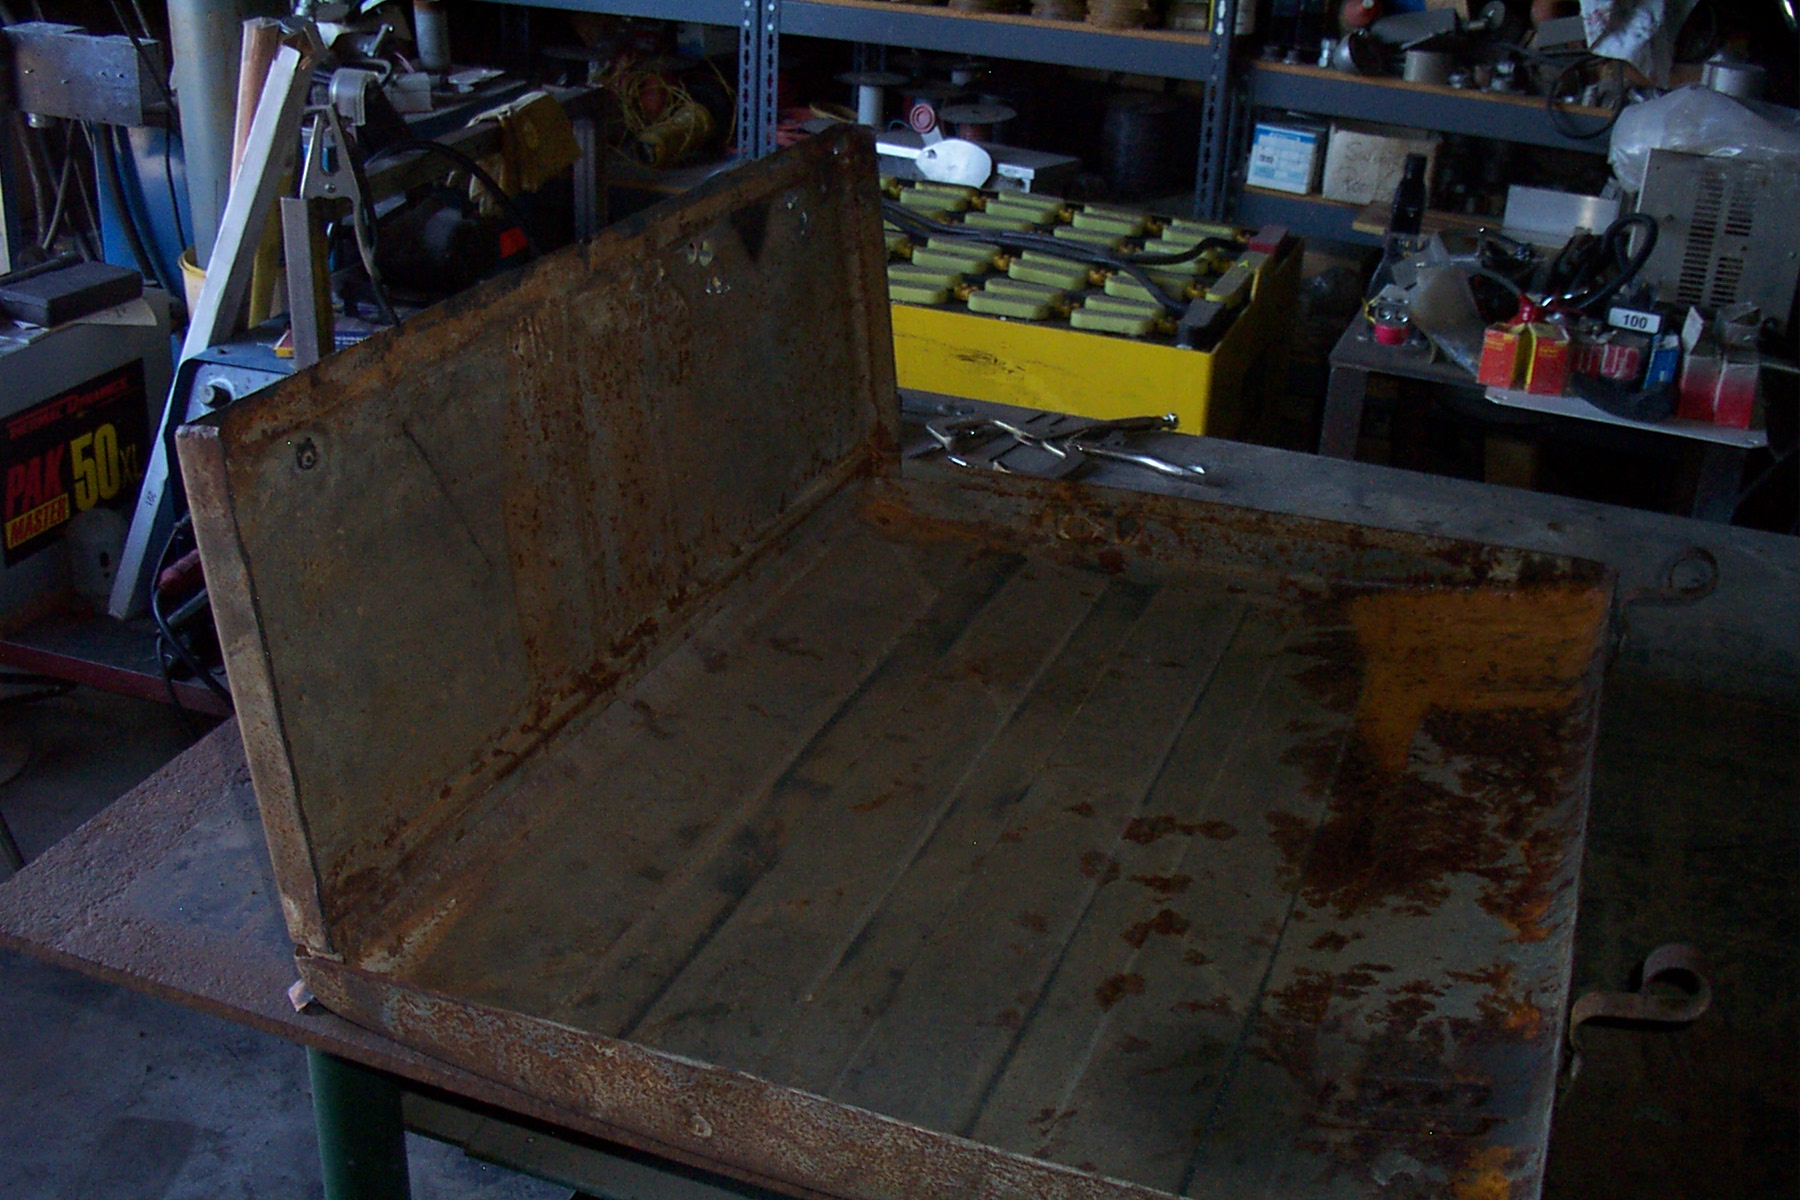
The top and front of the box are all that I used over. The top would be next to impossible to replicate and it is hinged to the front with a welded on hinge.
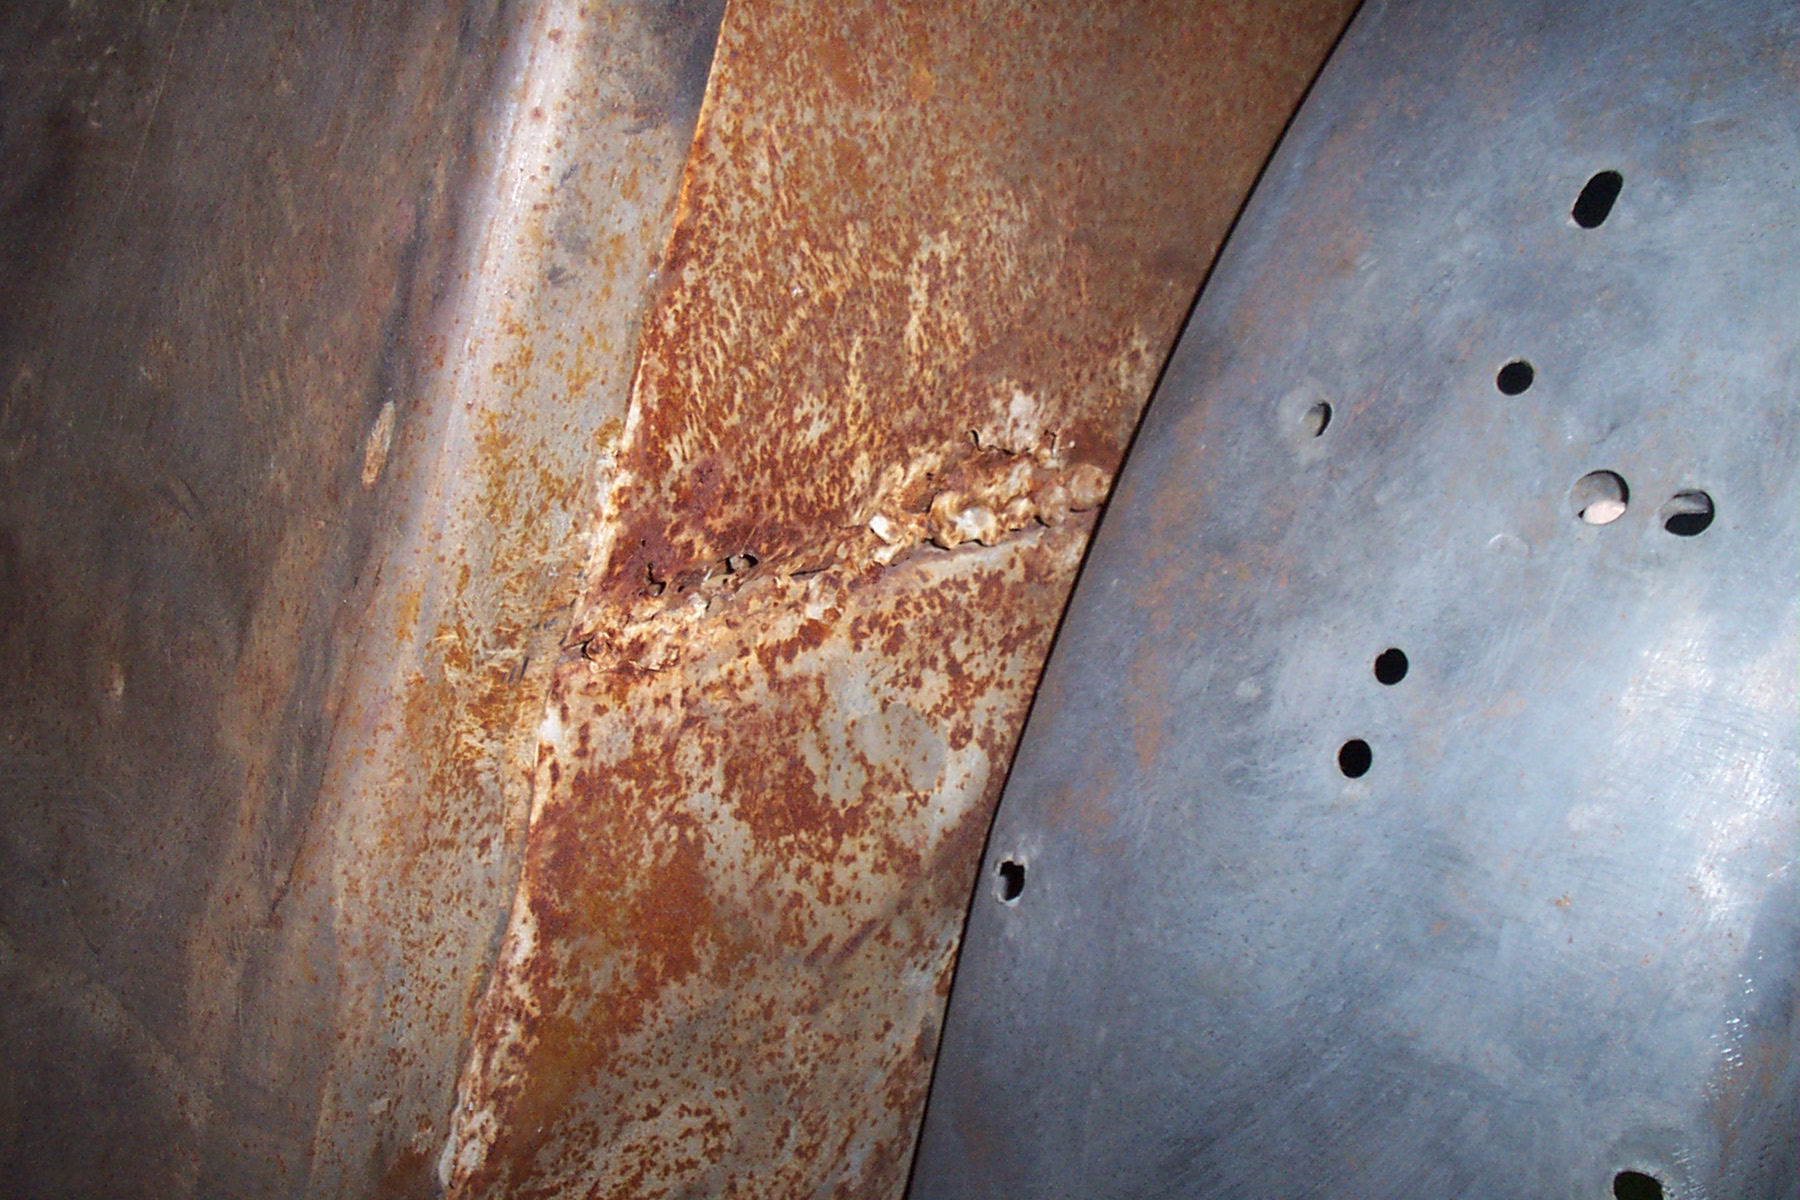
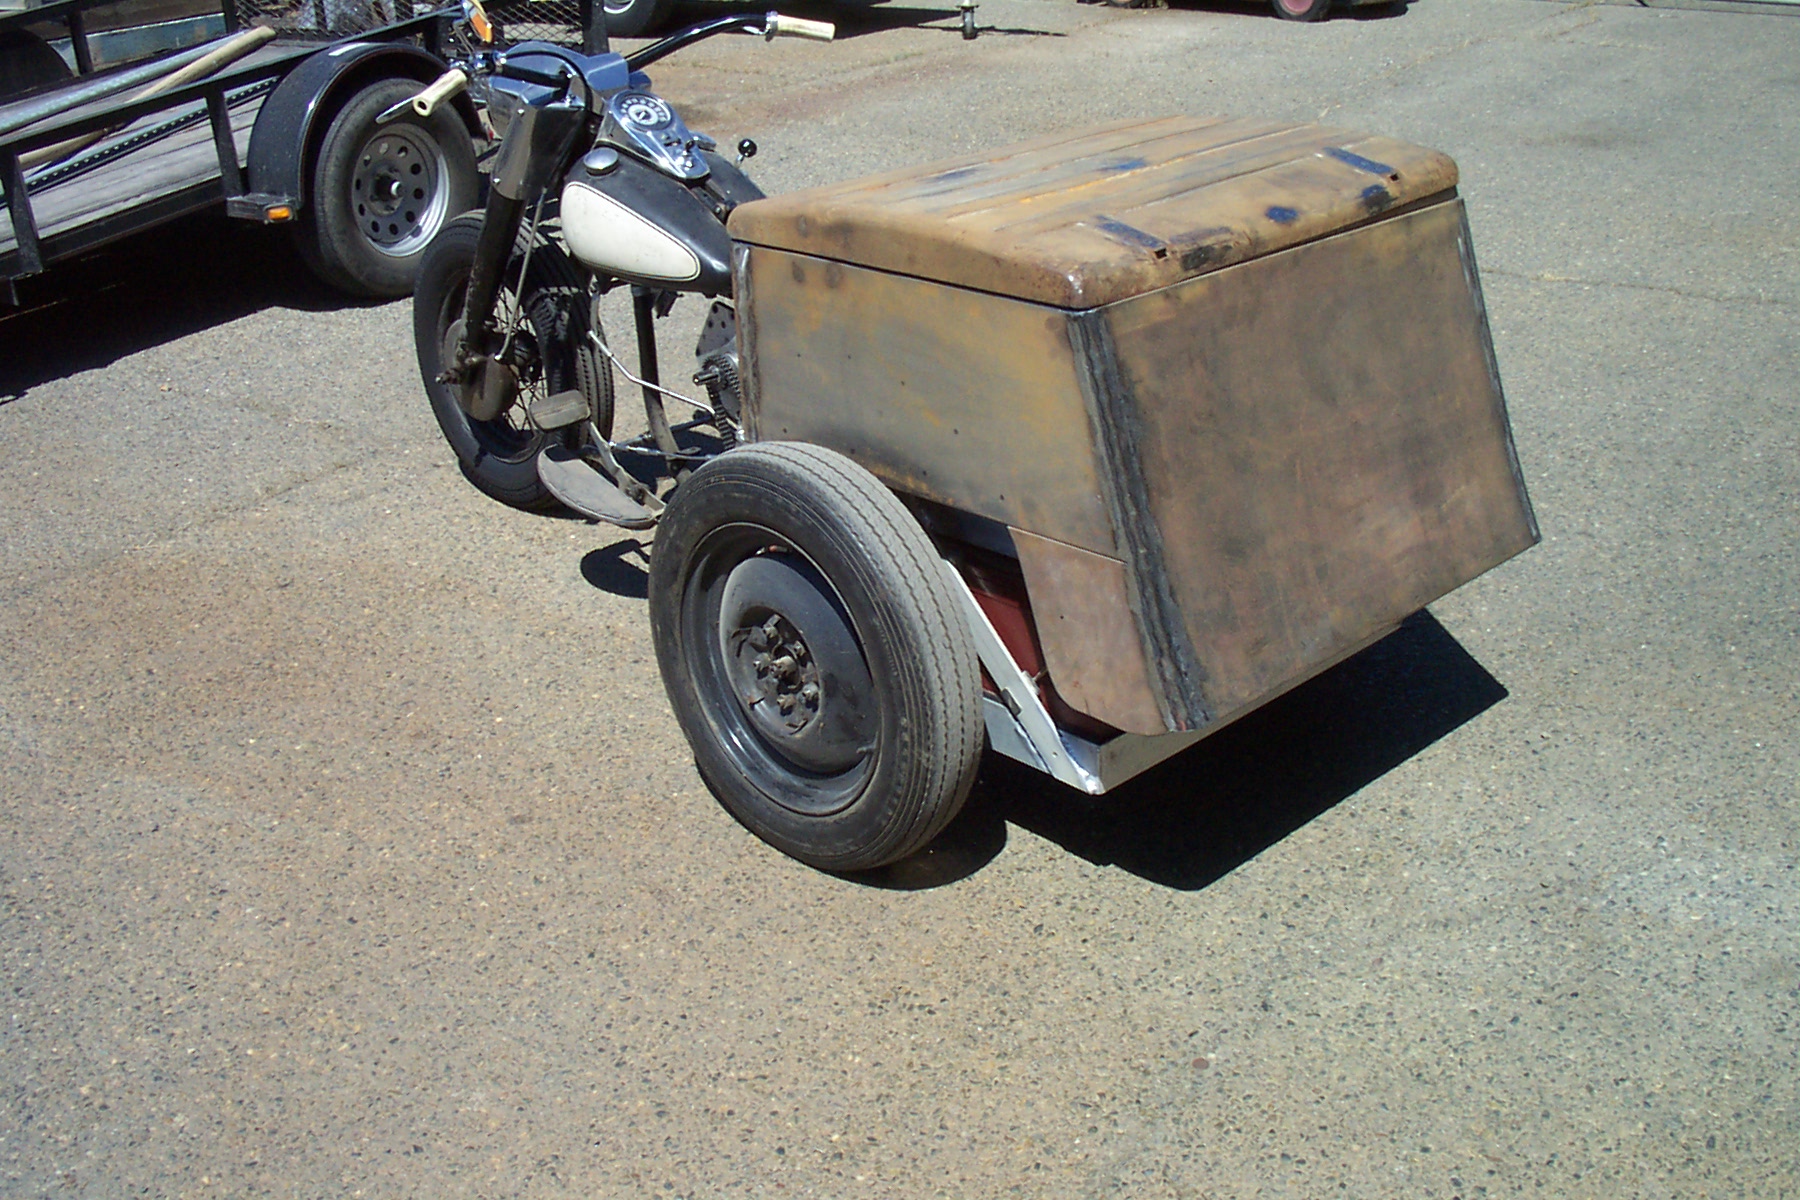
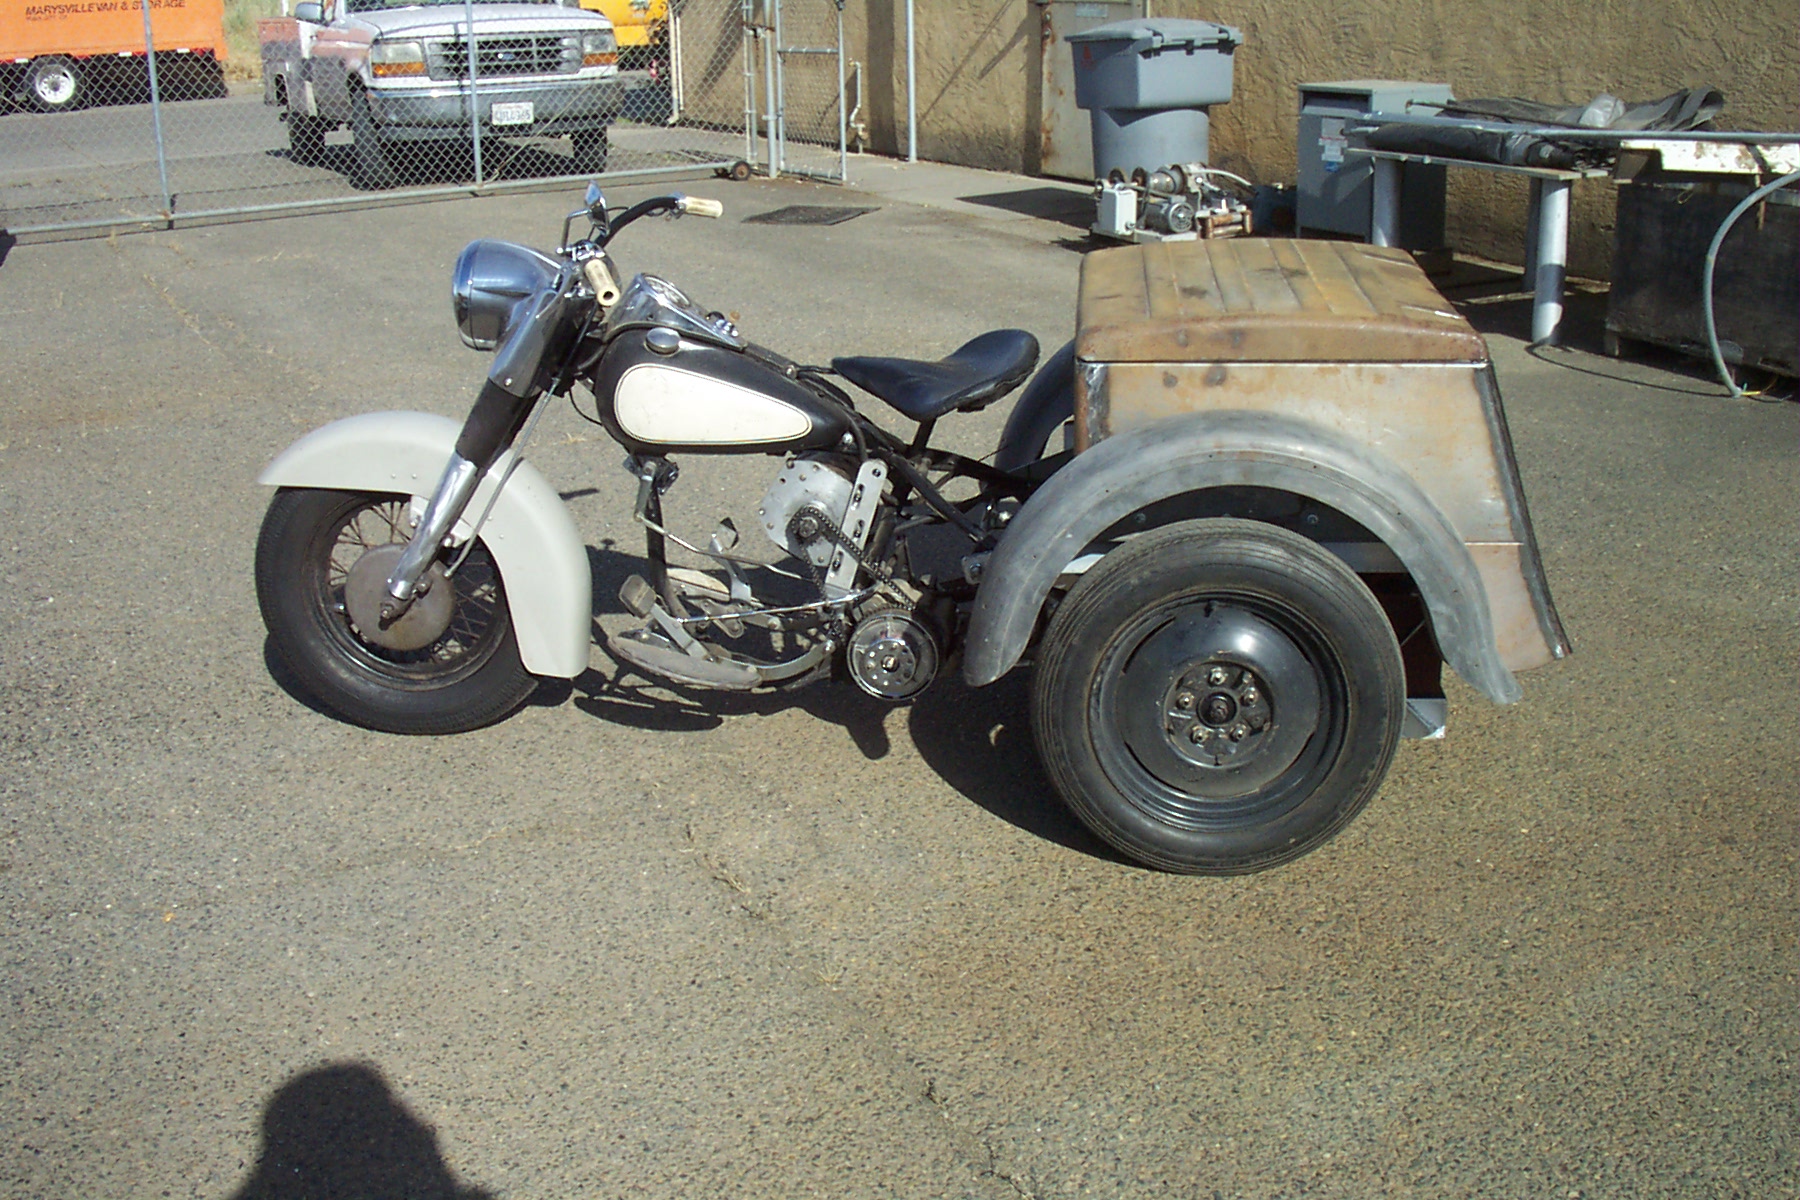
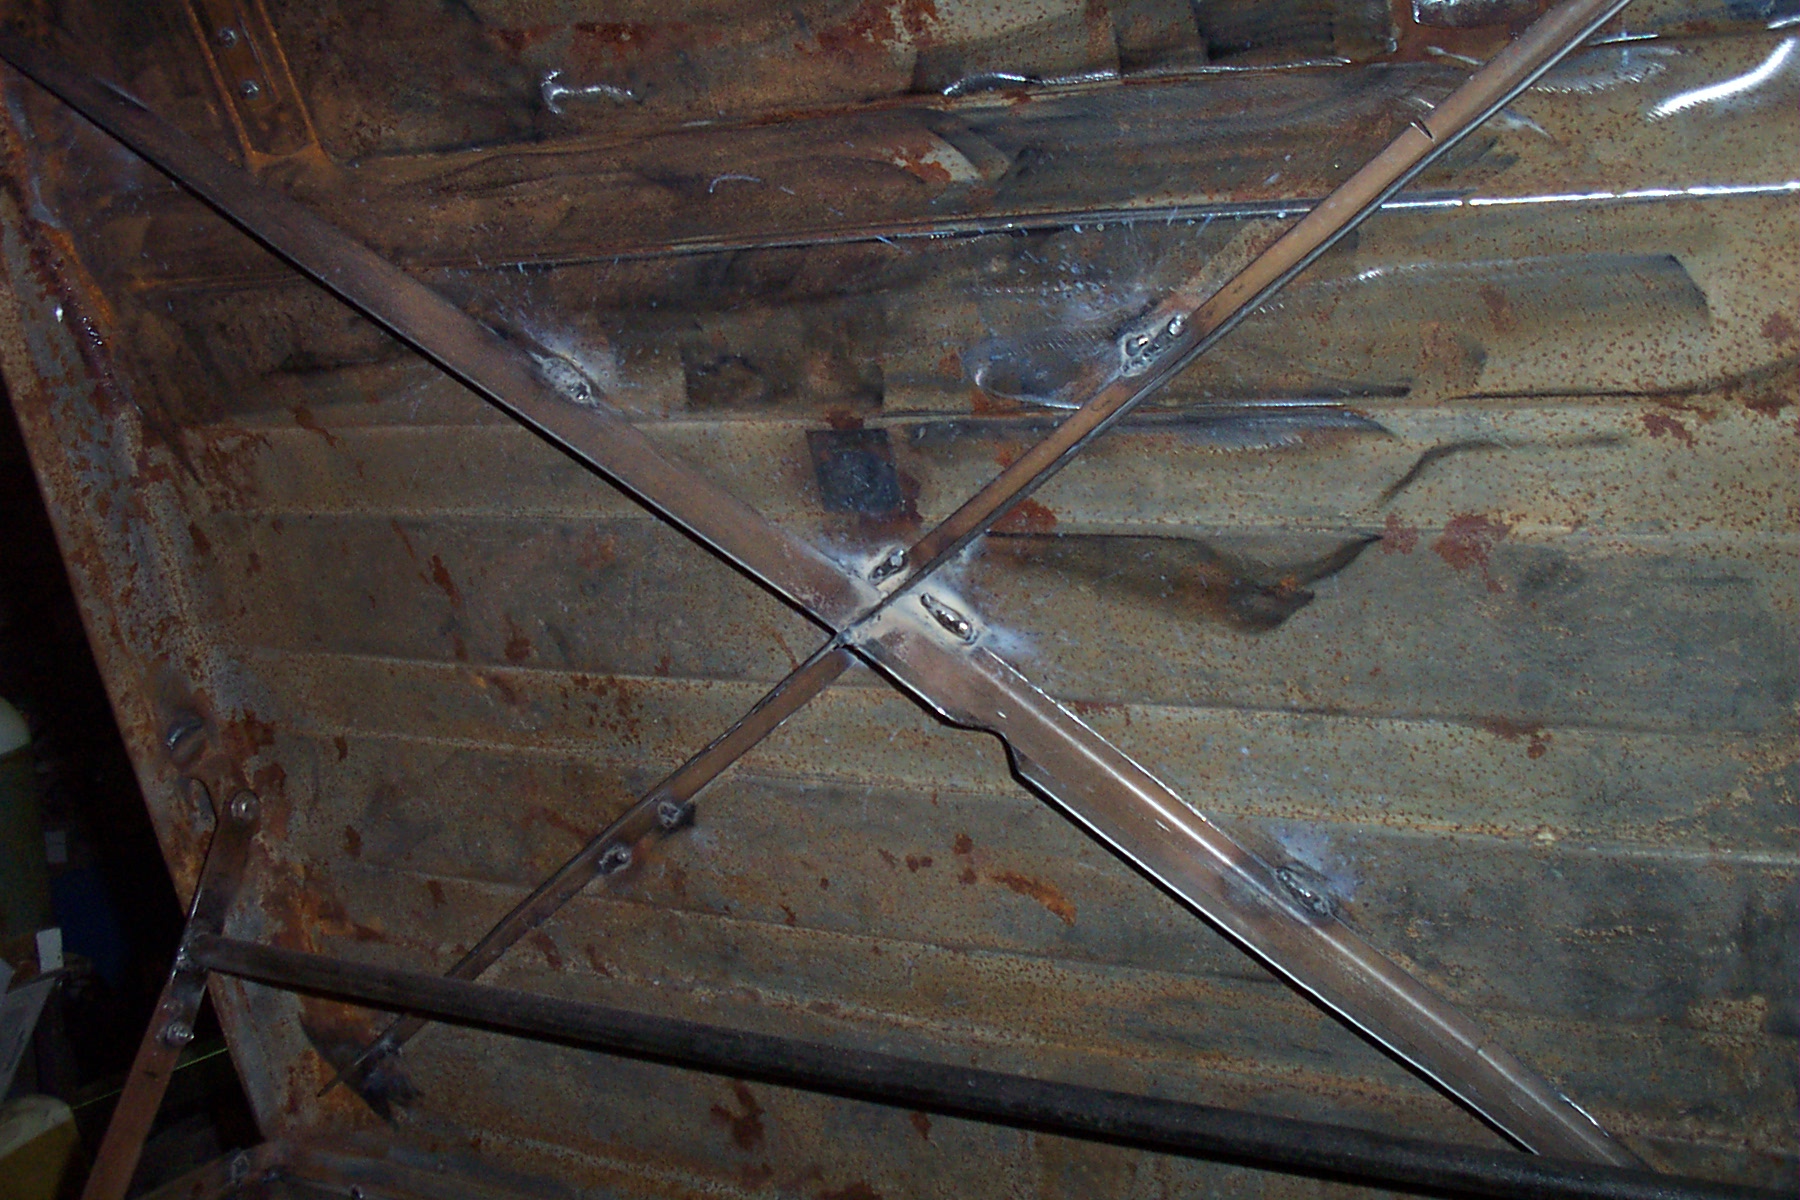
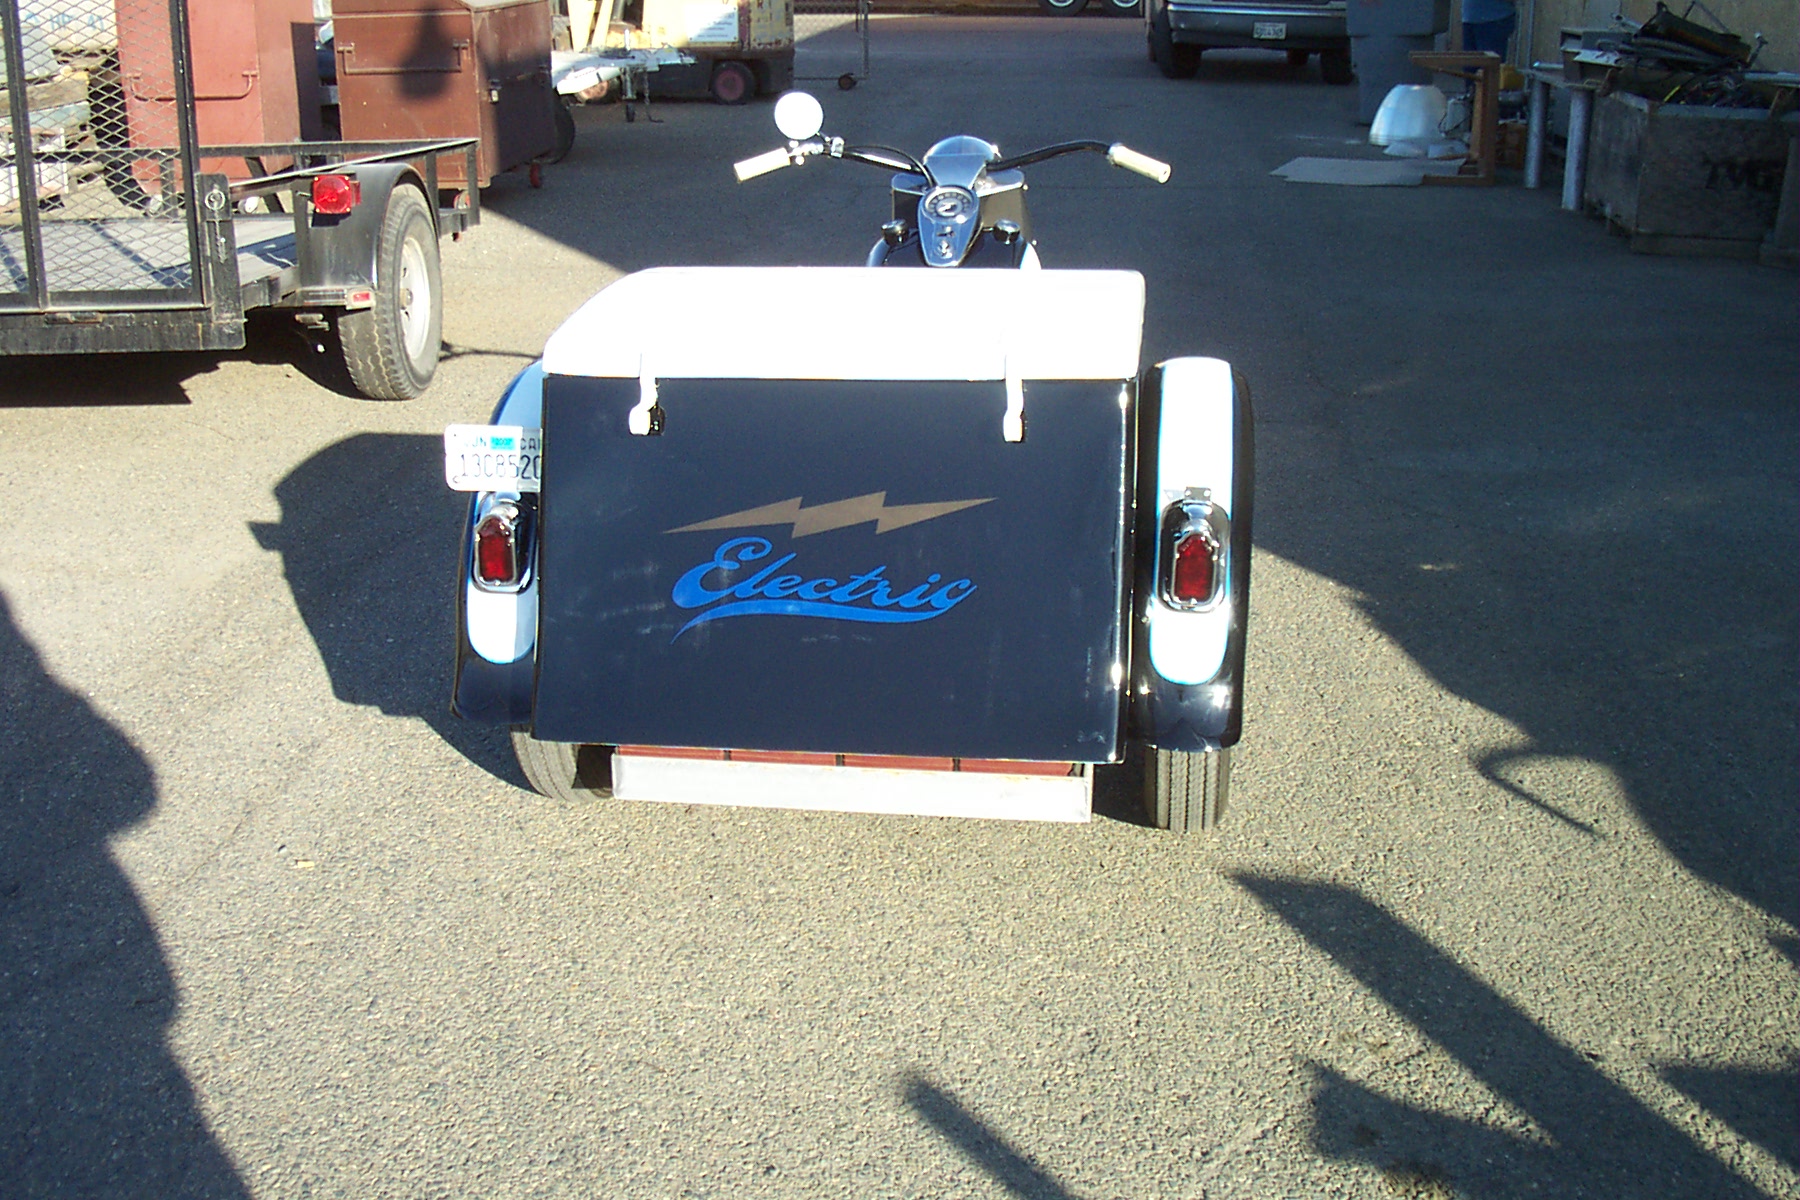
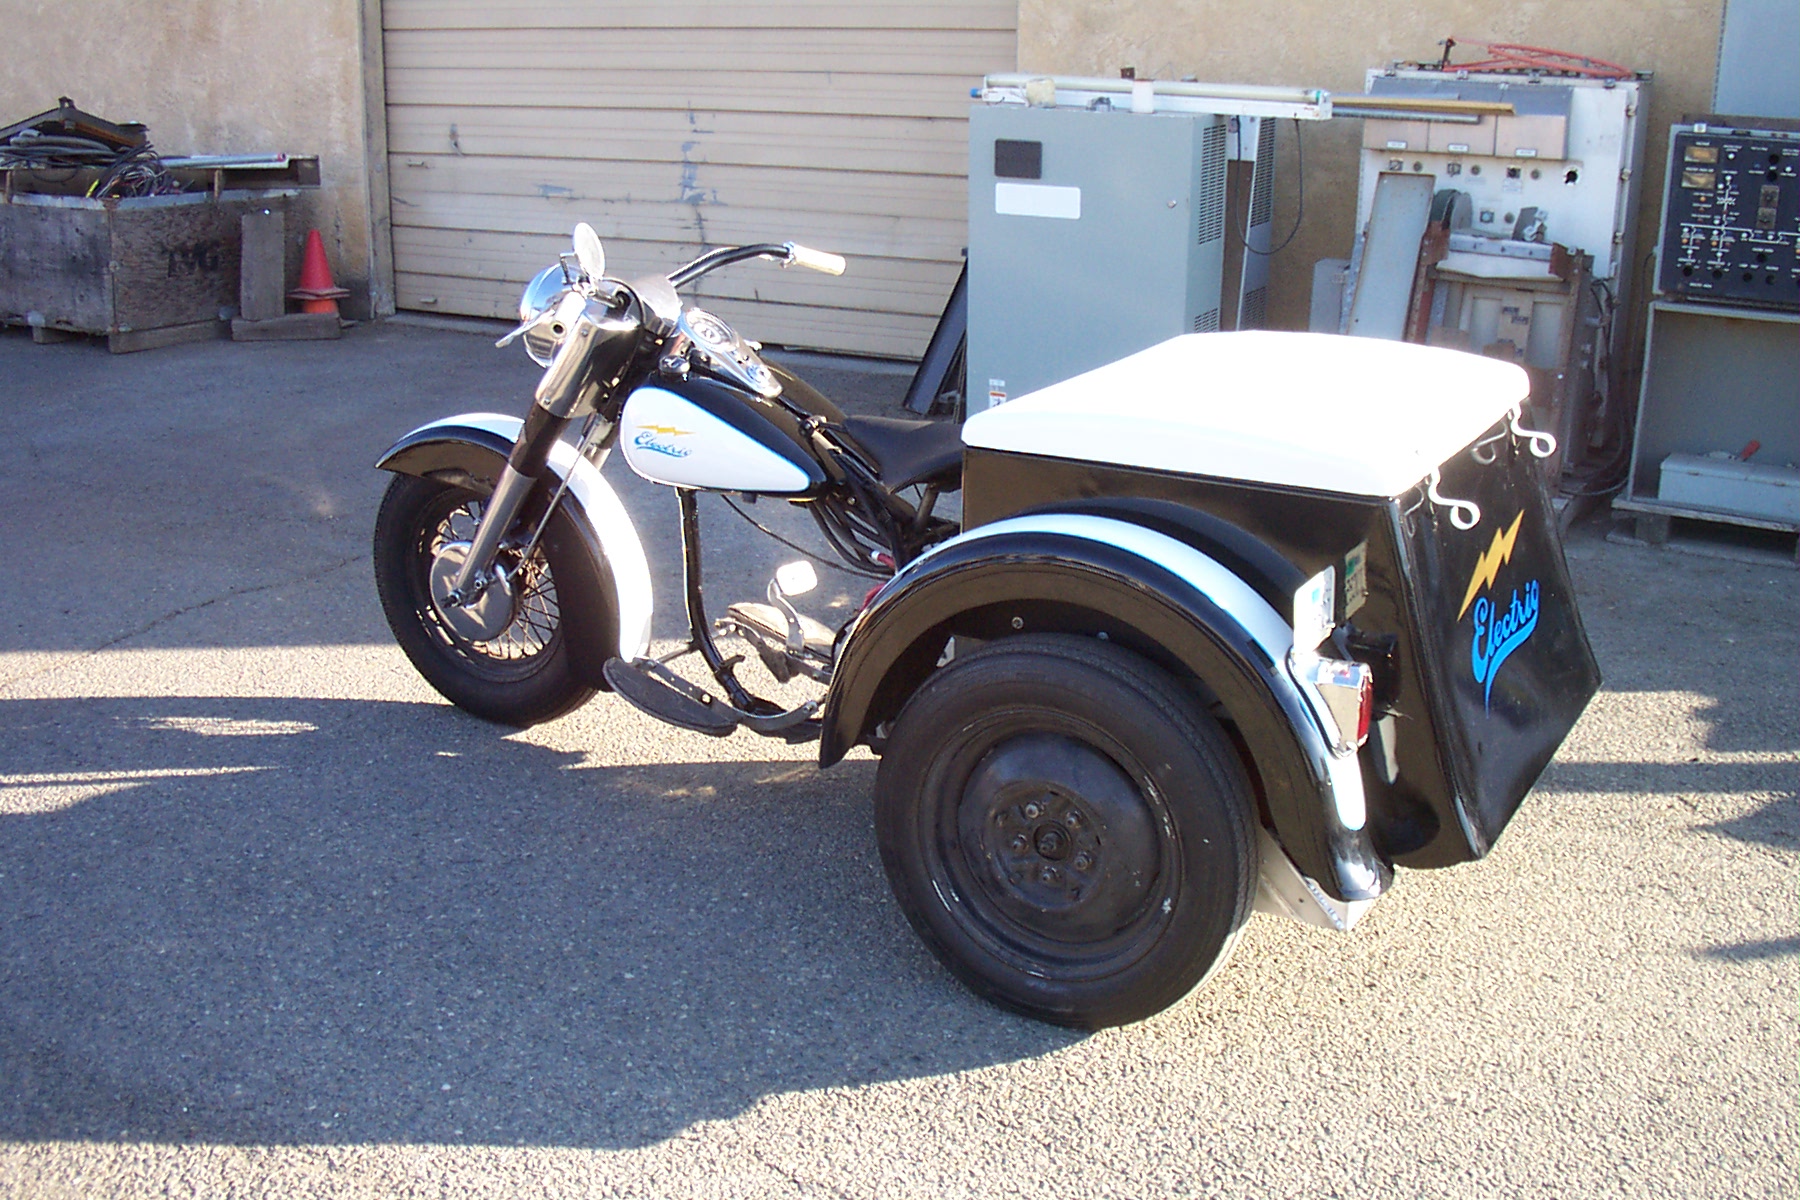
Above are a couple of shots of some of the problems with the original box. It had been worked on by the "bondo king" before I got it and when I had it dipped it lost almost 100lbs. of weight. It was also not square and the lid did not close properly. Here is the finished box set on the bike and pretty close to ready to go to the bead blaster prior to painting.
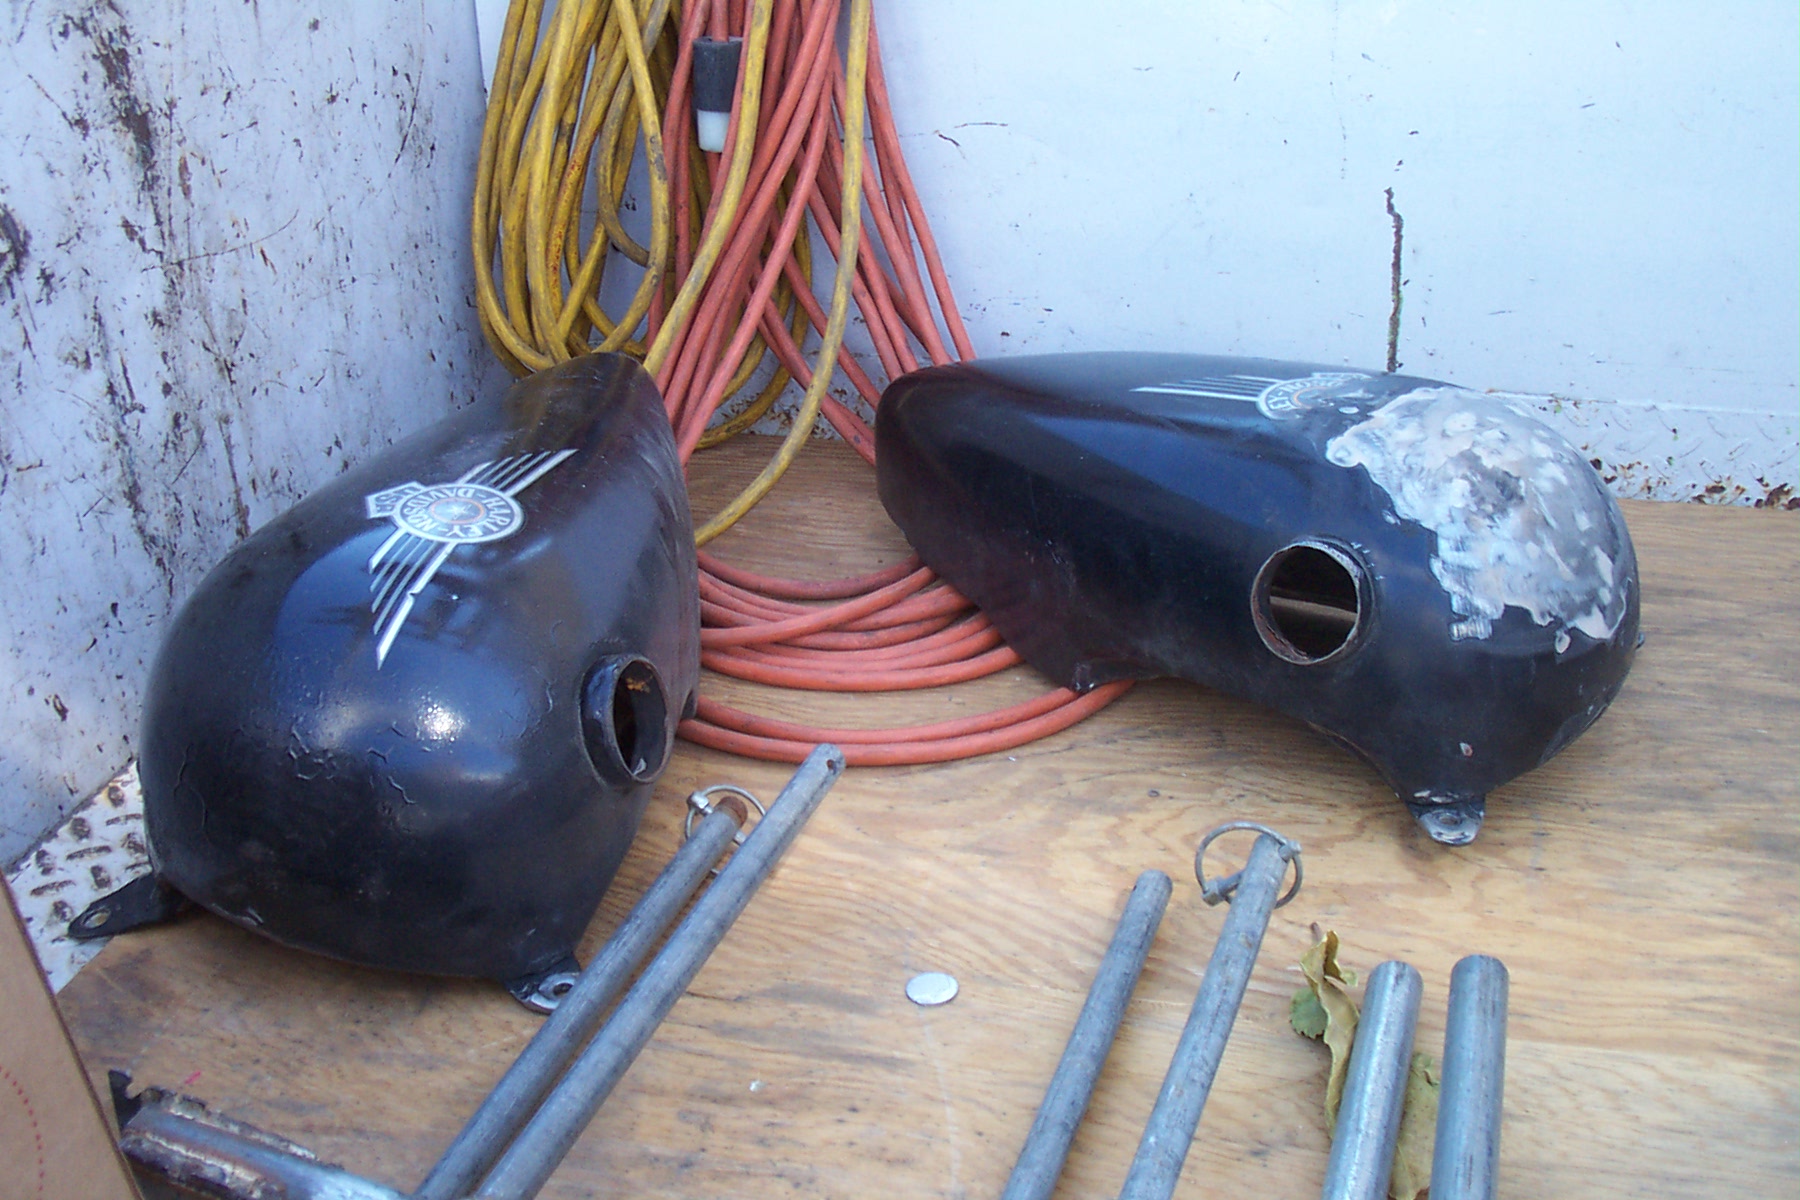
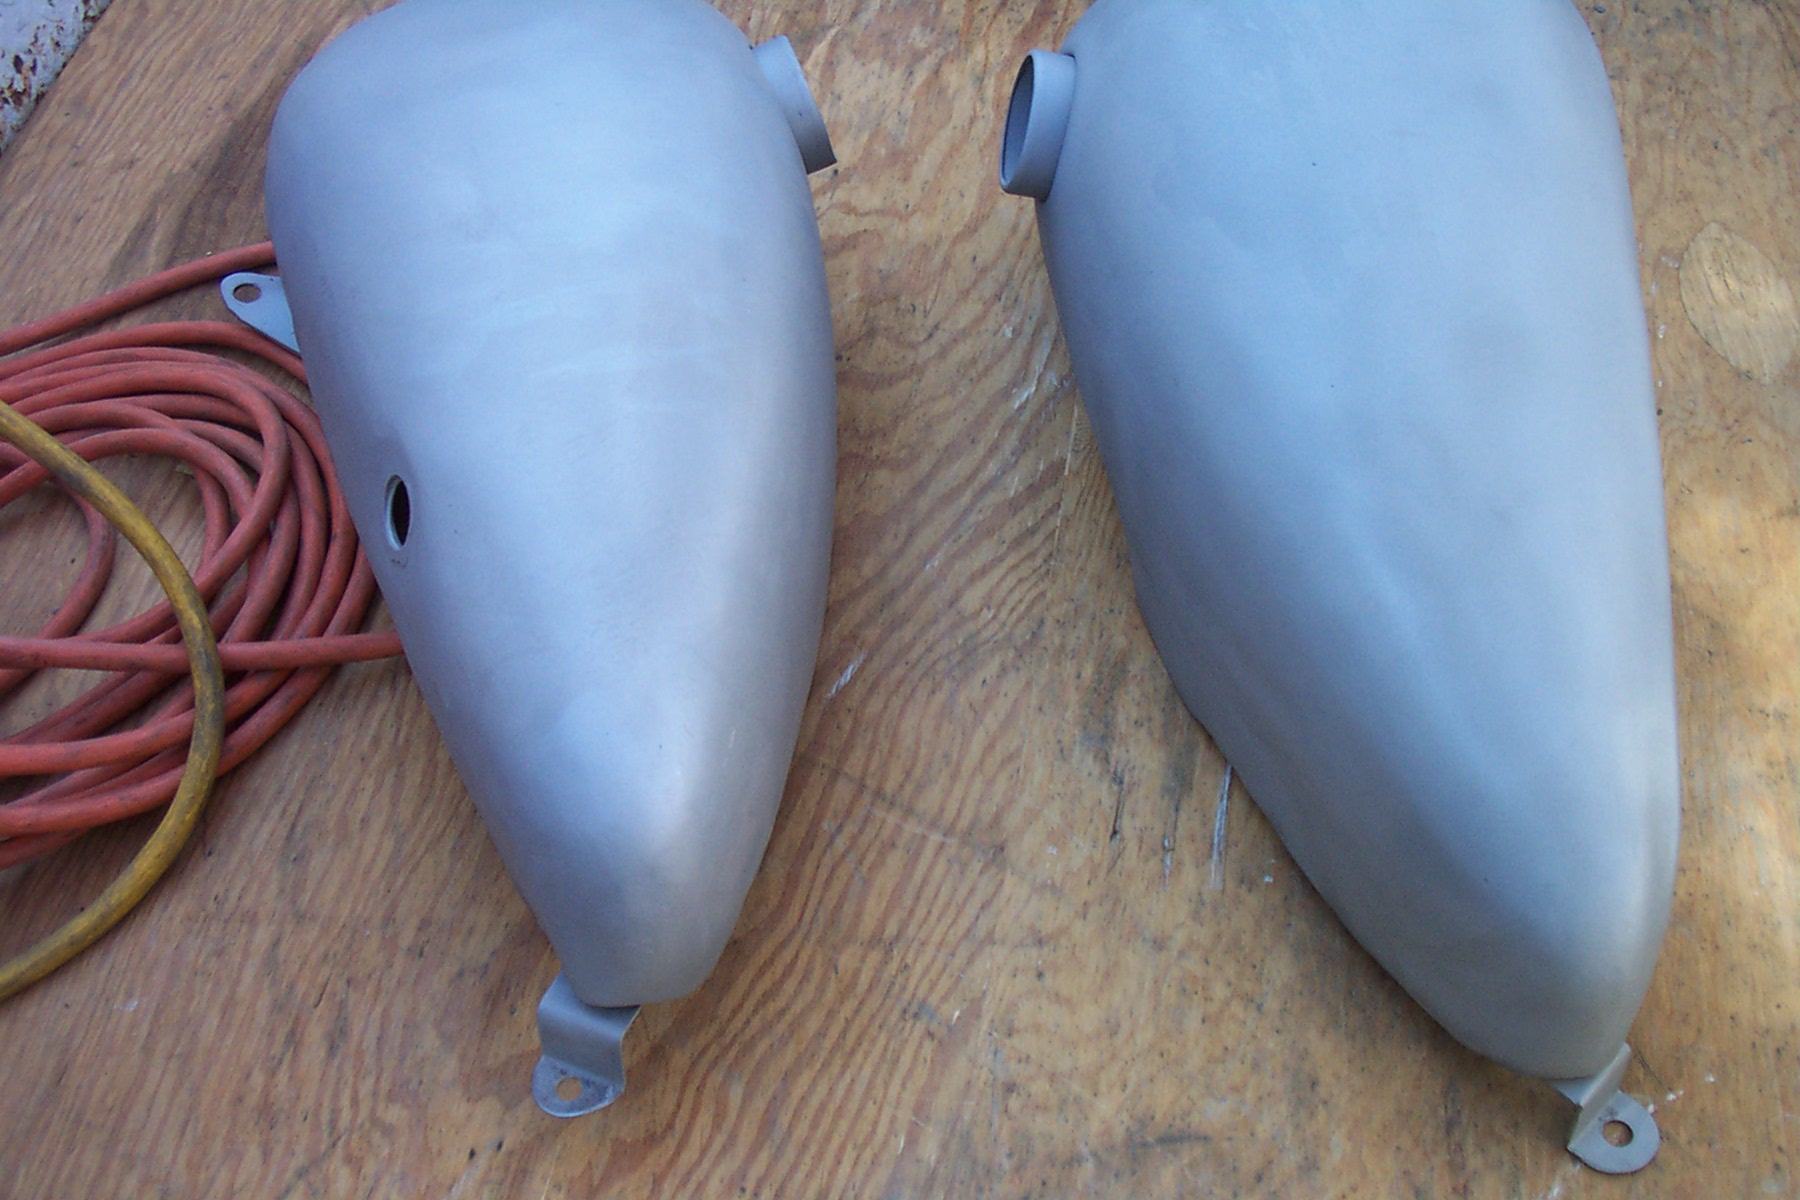
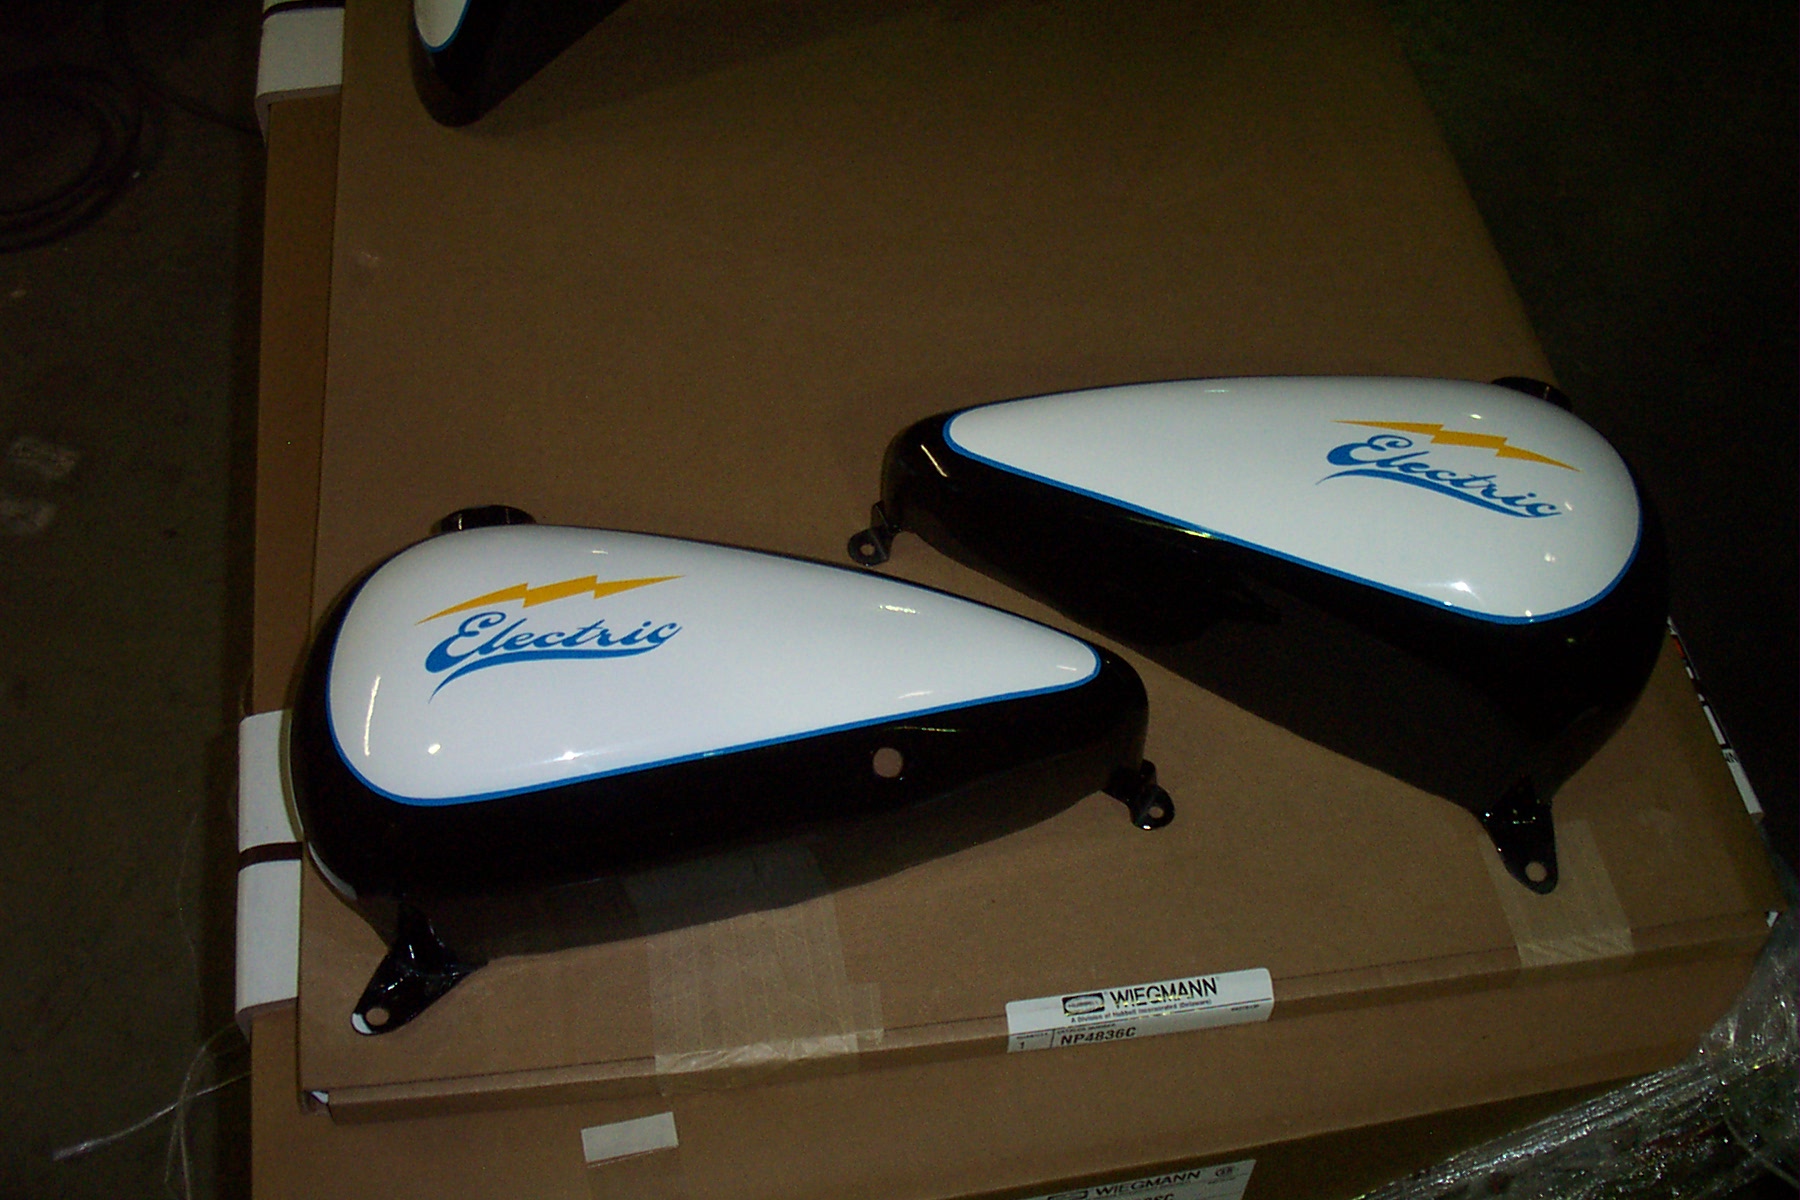
Here are before, middle, and after on the "tanks".
The first picture is after banging out the bottoms and cutting out the back sides on the way to the sand blaster for the first try. It was not very successful so I took them back and used a chemical paint stripper to get the majority of the old paint off. Then back to the sand blaster and they came out in the second picture. The last picture is after painting and before final assembly.
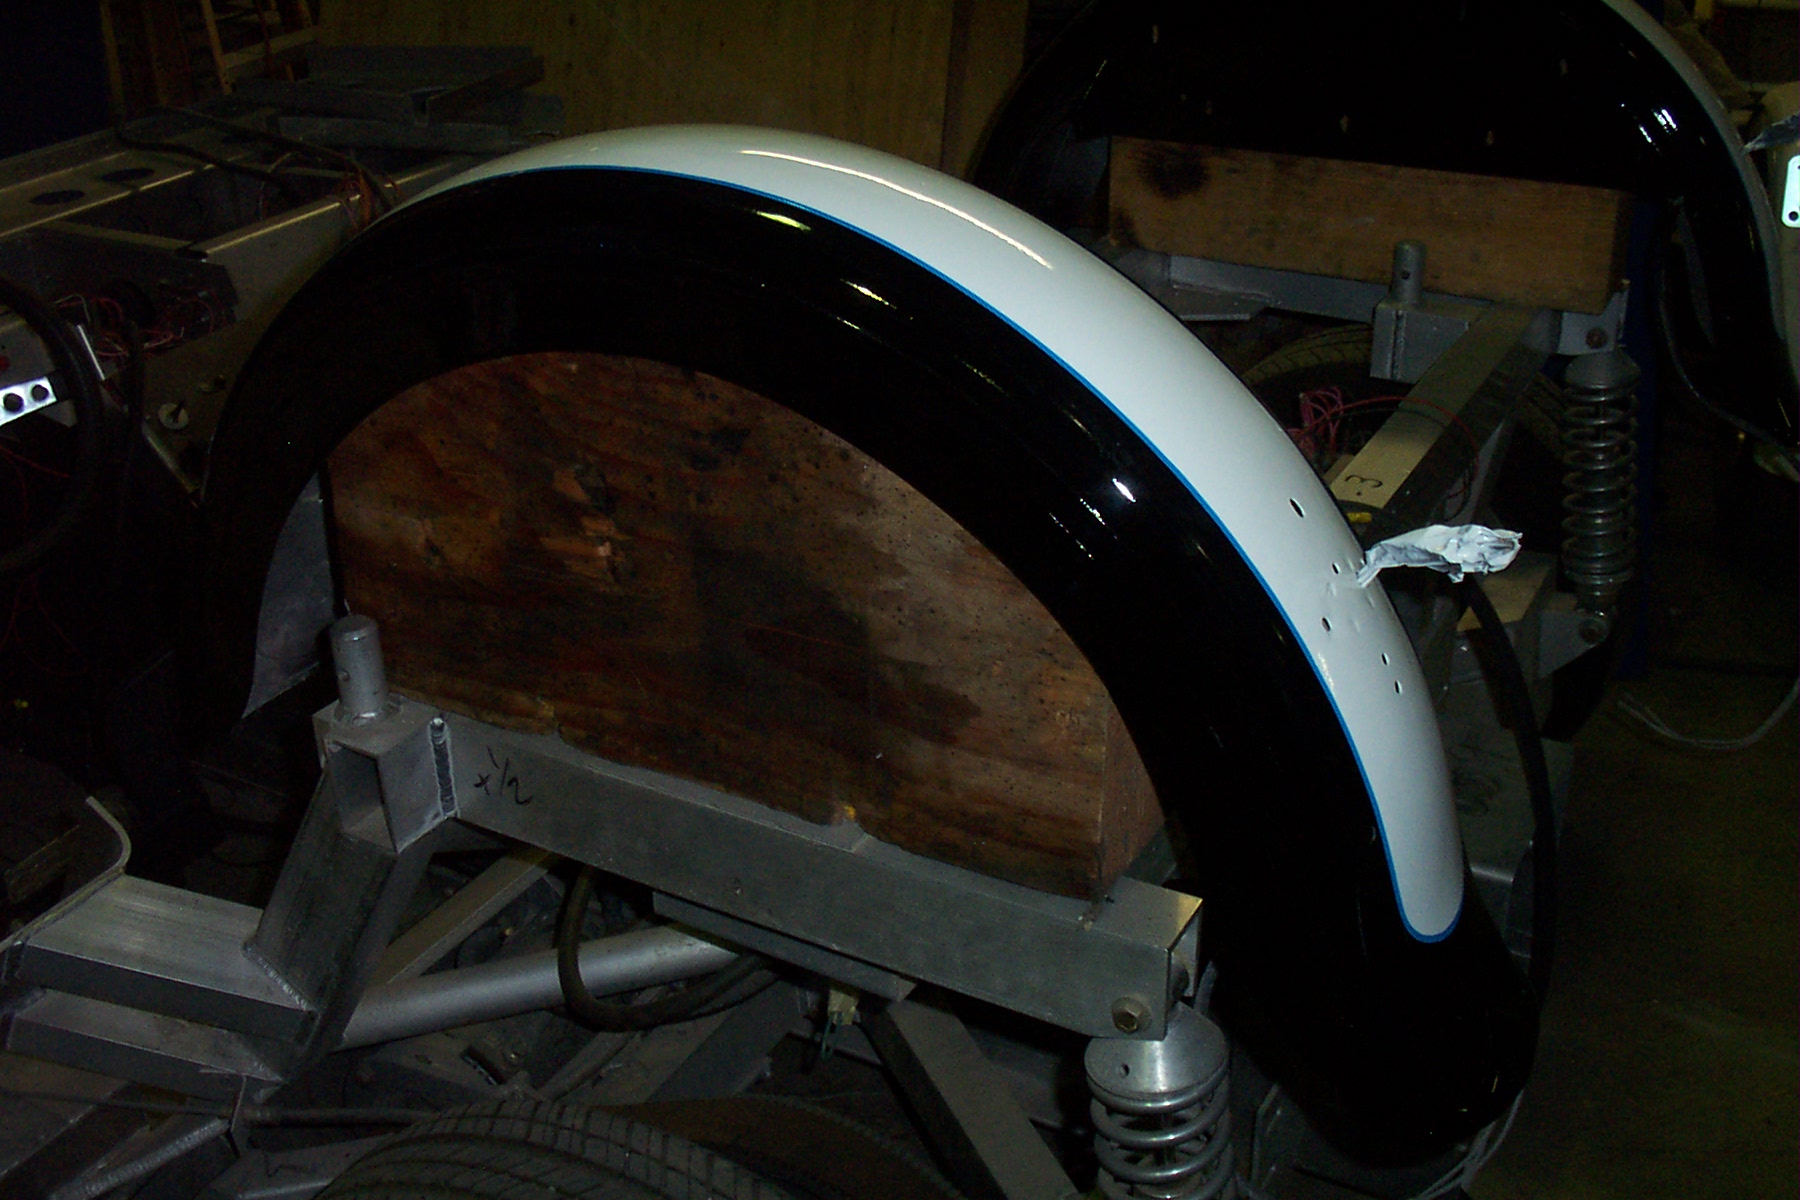
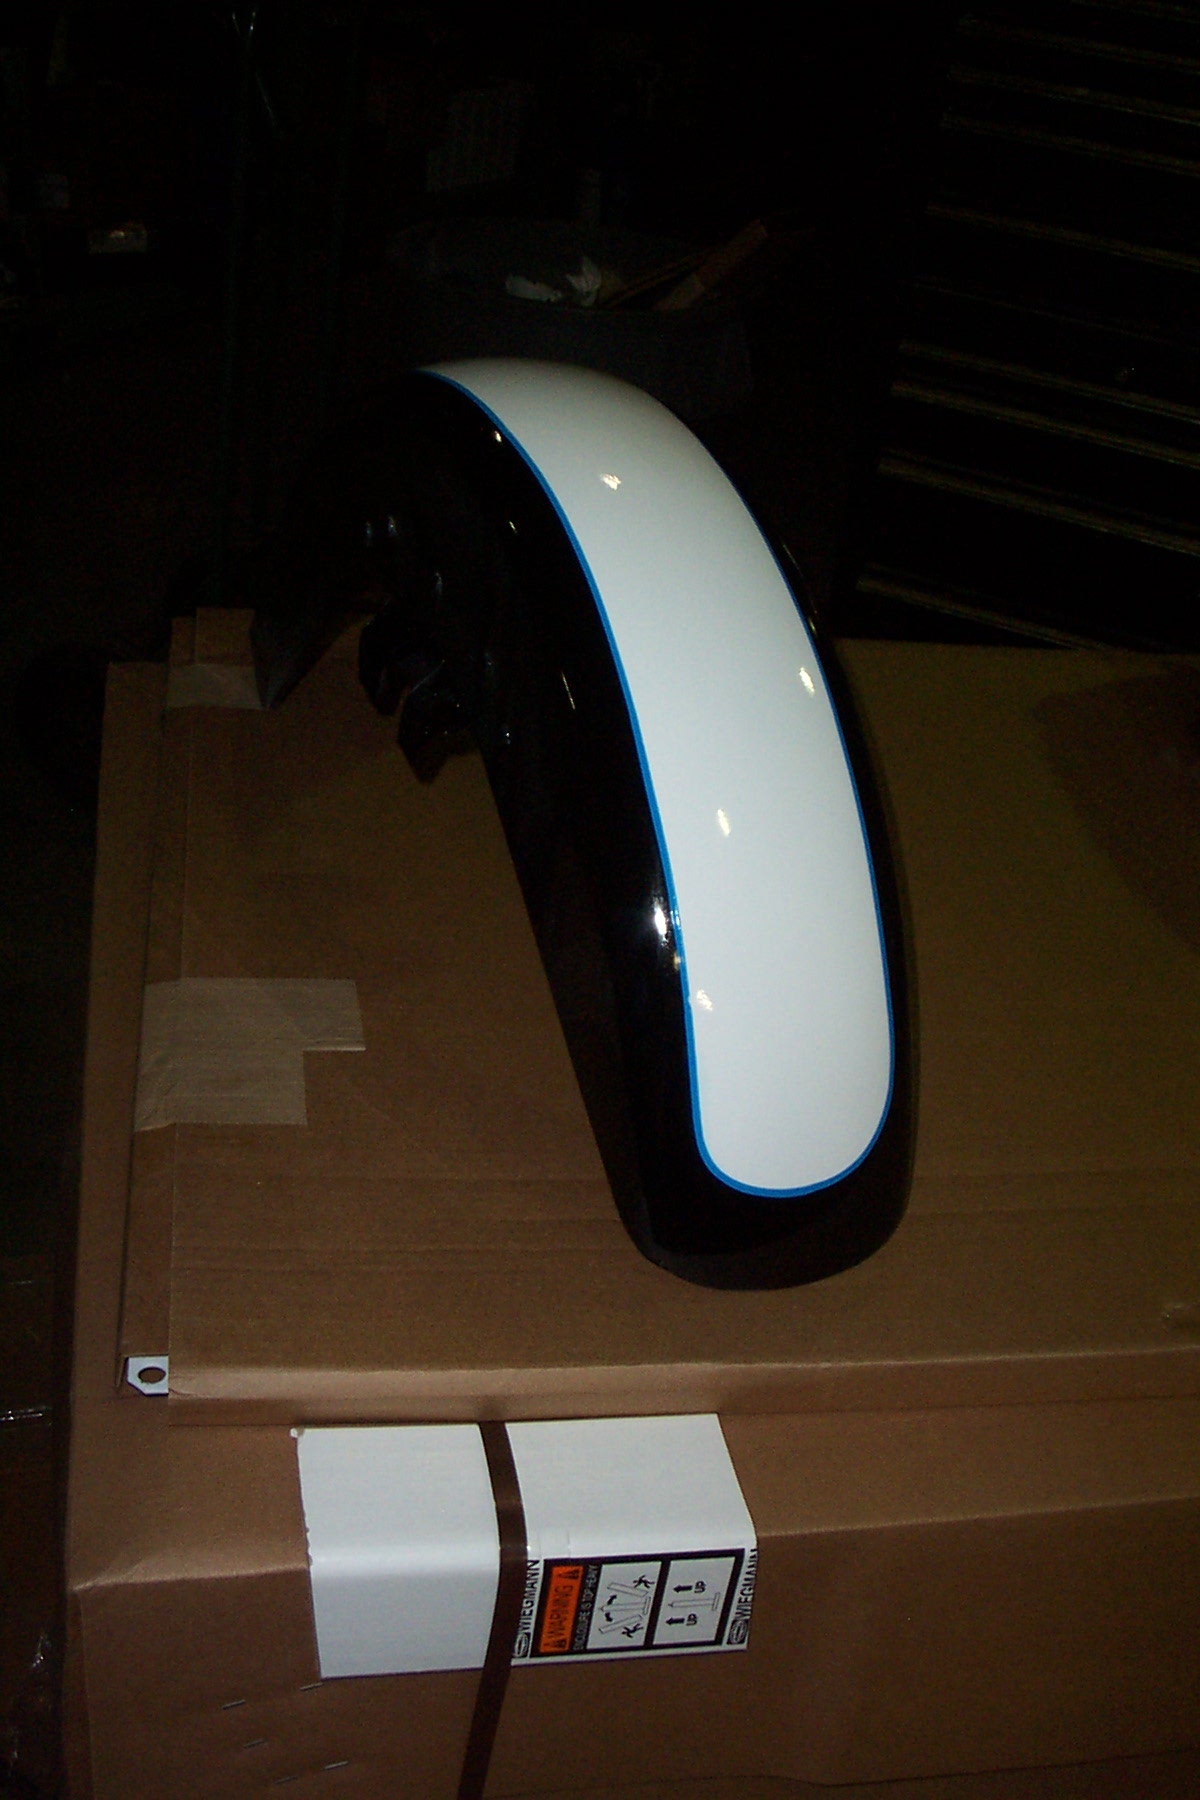
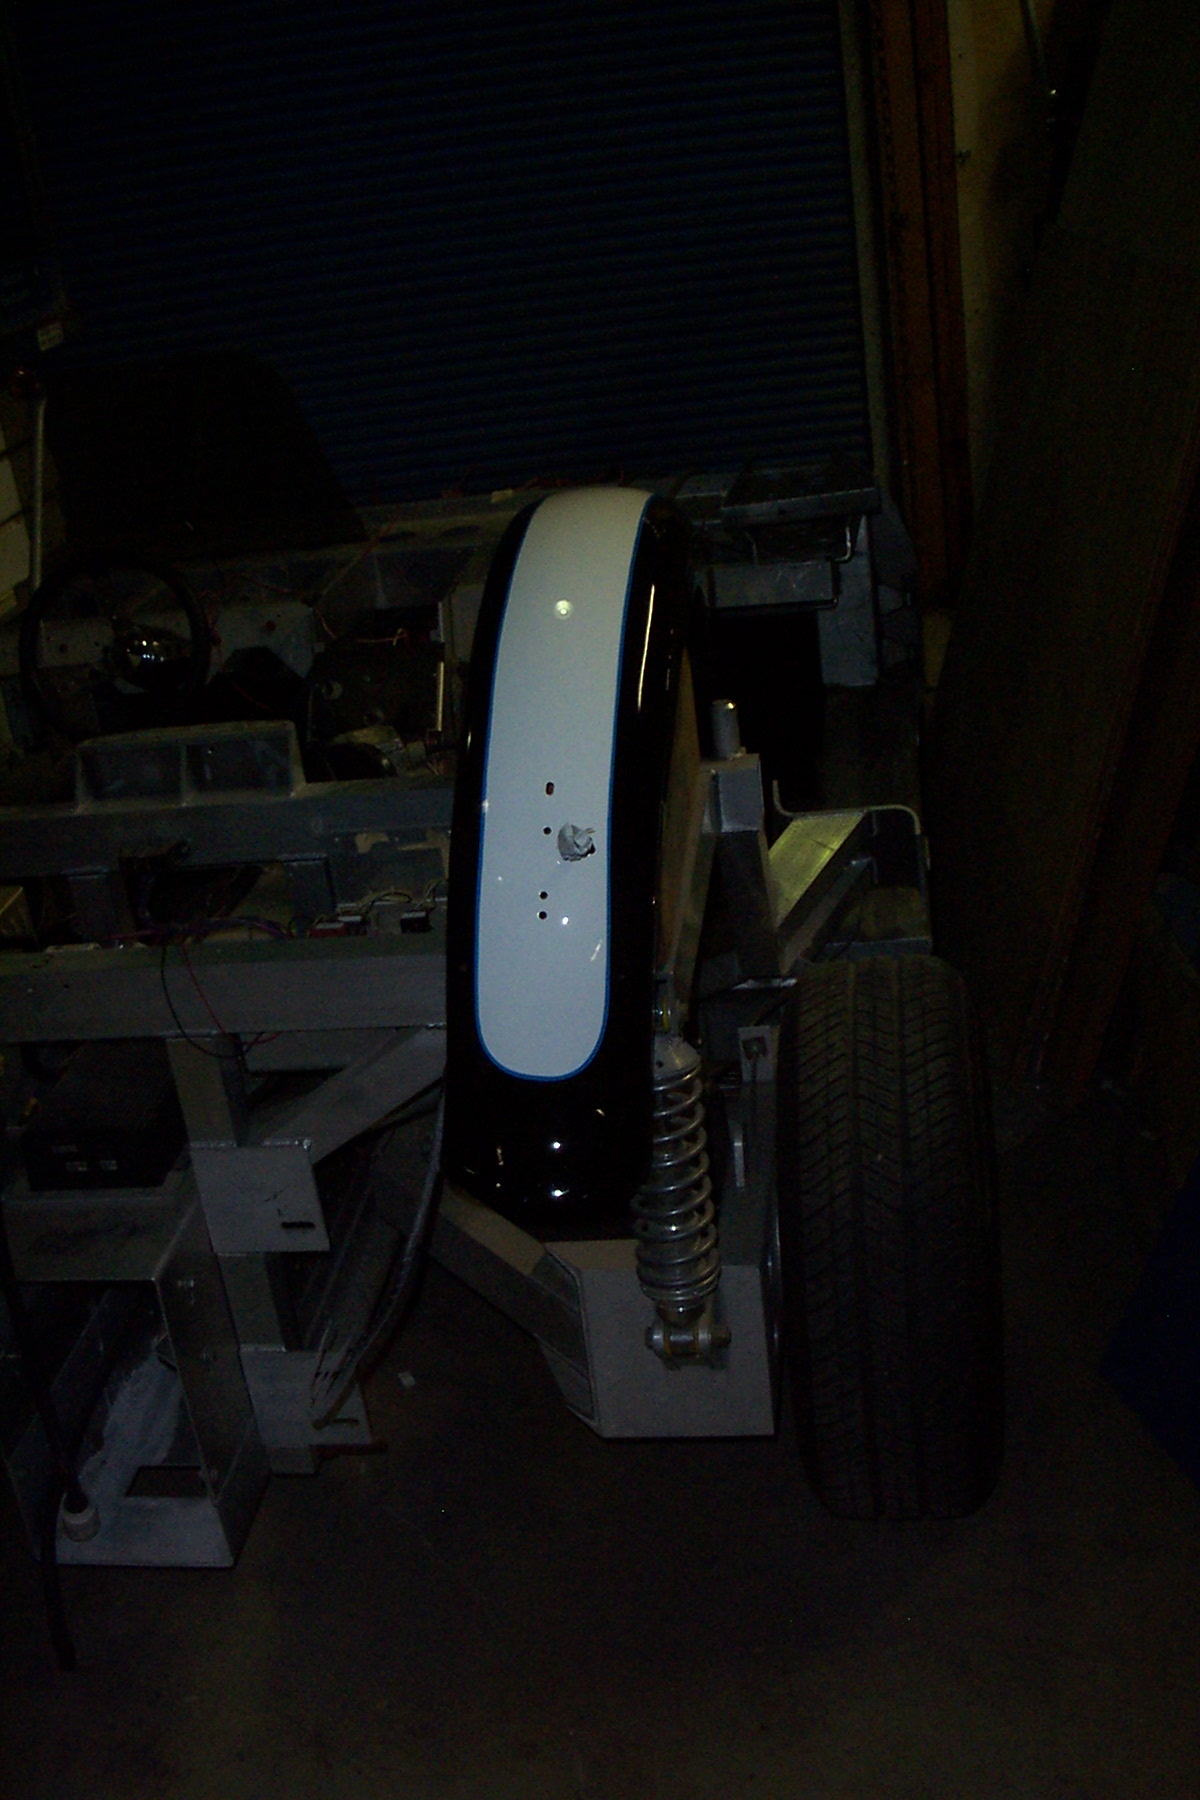
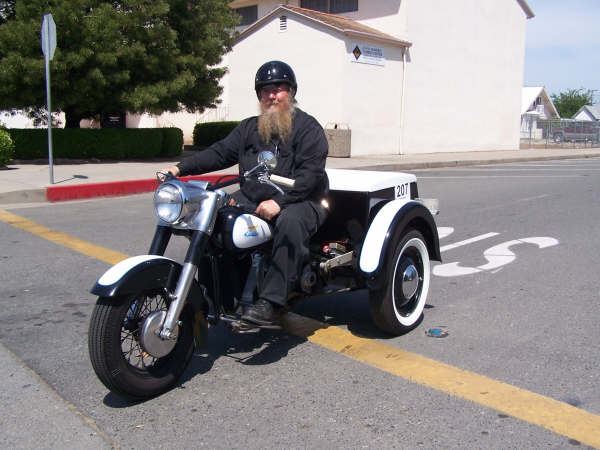
These are the fenders, Left rear, Front, and Right rear as they came back from the paint shop. This is where the name "The Skunk" came from. As the painter was working on the project, he said it looked like a skunk and the name stuck.
July 07:
|