| The Motor | ||
| HOME |
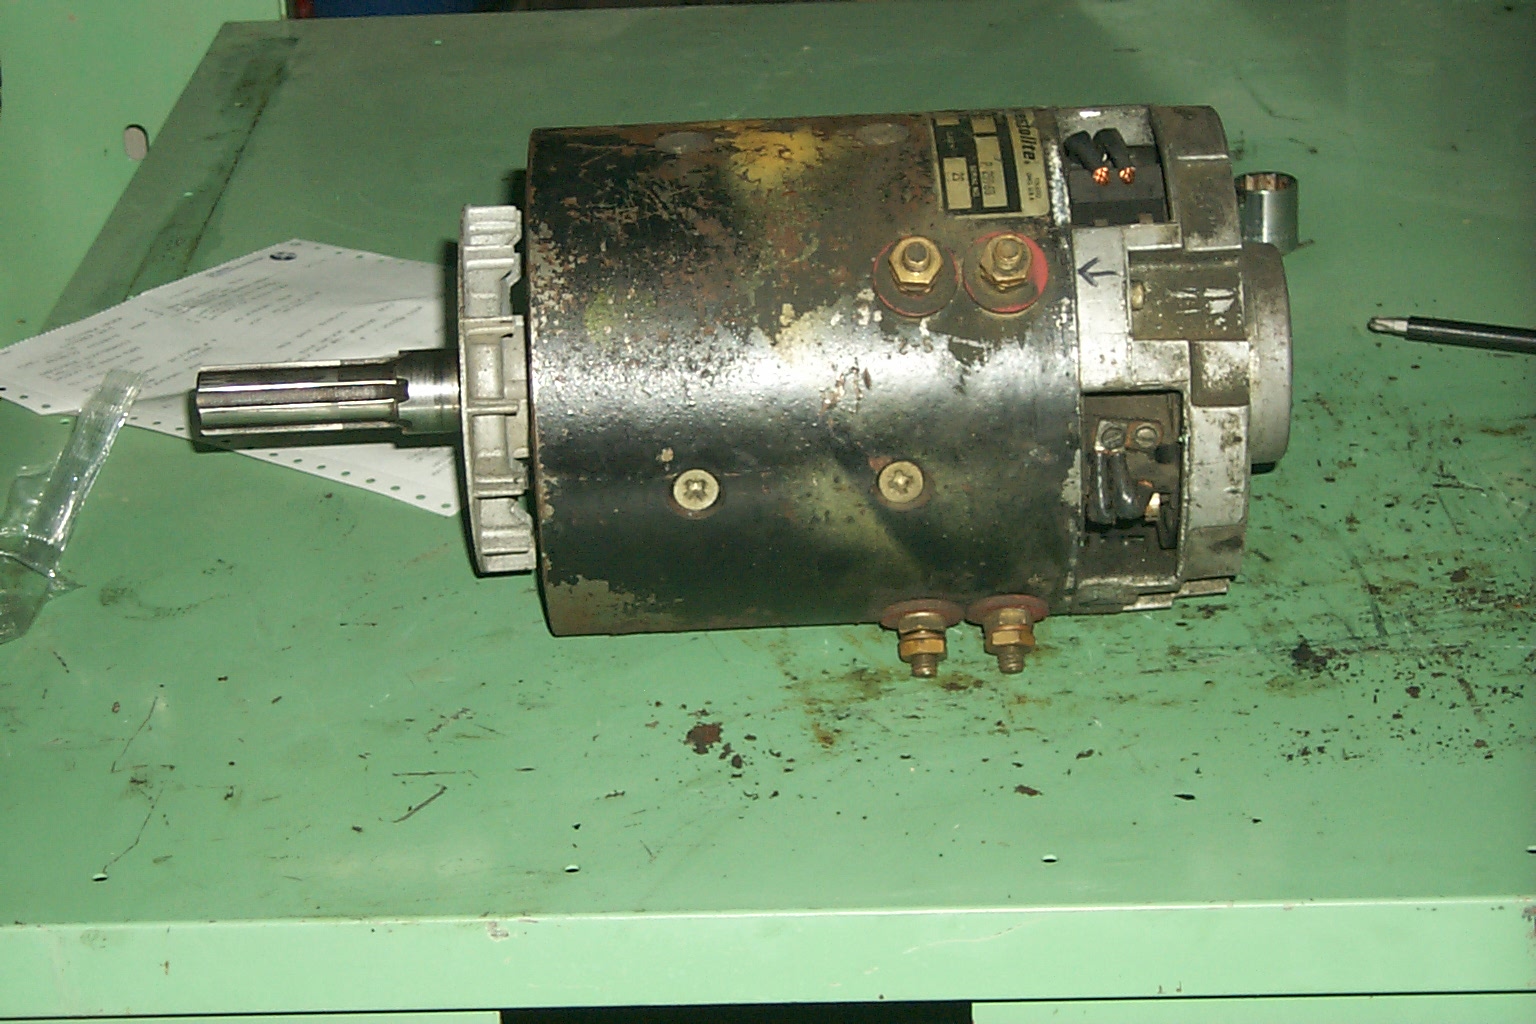
 The motor as it has been modified. The motor from the Pallet picker was mounted directly to a gearbox for the main drive wheel. Unfortunately, the front bearing is actually in the gearbox and the front of the motor only contained an oil seal. A trip to the local bearing house, Applied Industrial, came up with a bearing that was close to the size of the shaft and only 3mm larger than the outside diameter of the oil seal. Another drawback of this motor is the splined shaft which I have yet to deal with, but I do have some ideas percolating on that.
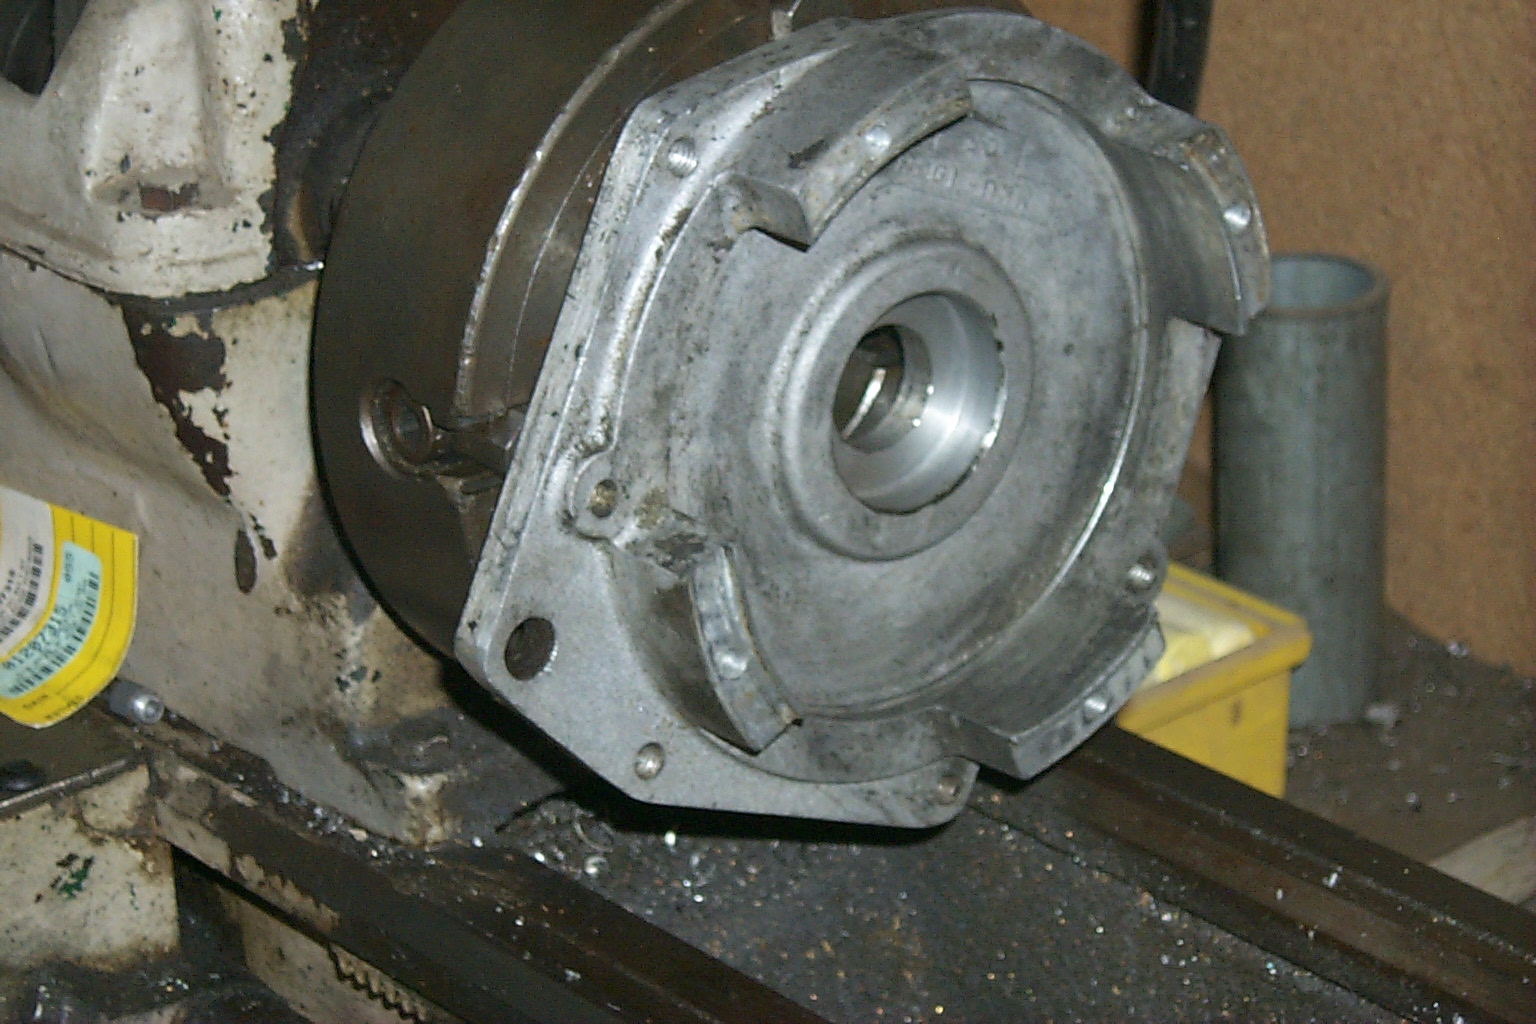
Next is the end bell for the motor installed in the lathe in preparation for making the bearing fit in place of the oil seal. As it turns out the housing was easily turned to fit the outside of the bearing. The shaft of the motor where the oil seal was riding measured 1.1895" which is actually 30.2133mm. Since the bearing was 55mm by 30mm this meant the shaft needed to be turned down to 1.1811". I stopped a little over at 1.1819 or .02mm for a slight interference fit or so I thought.
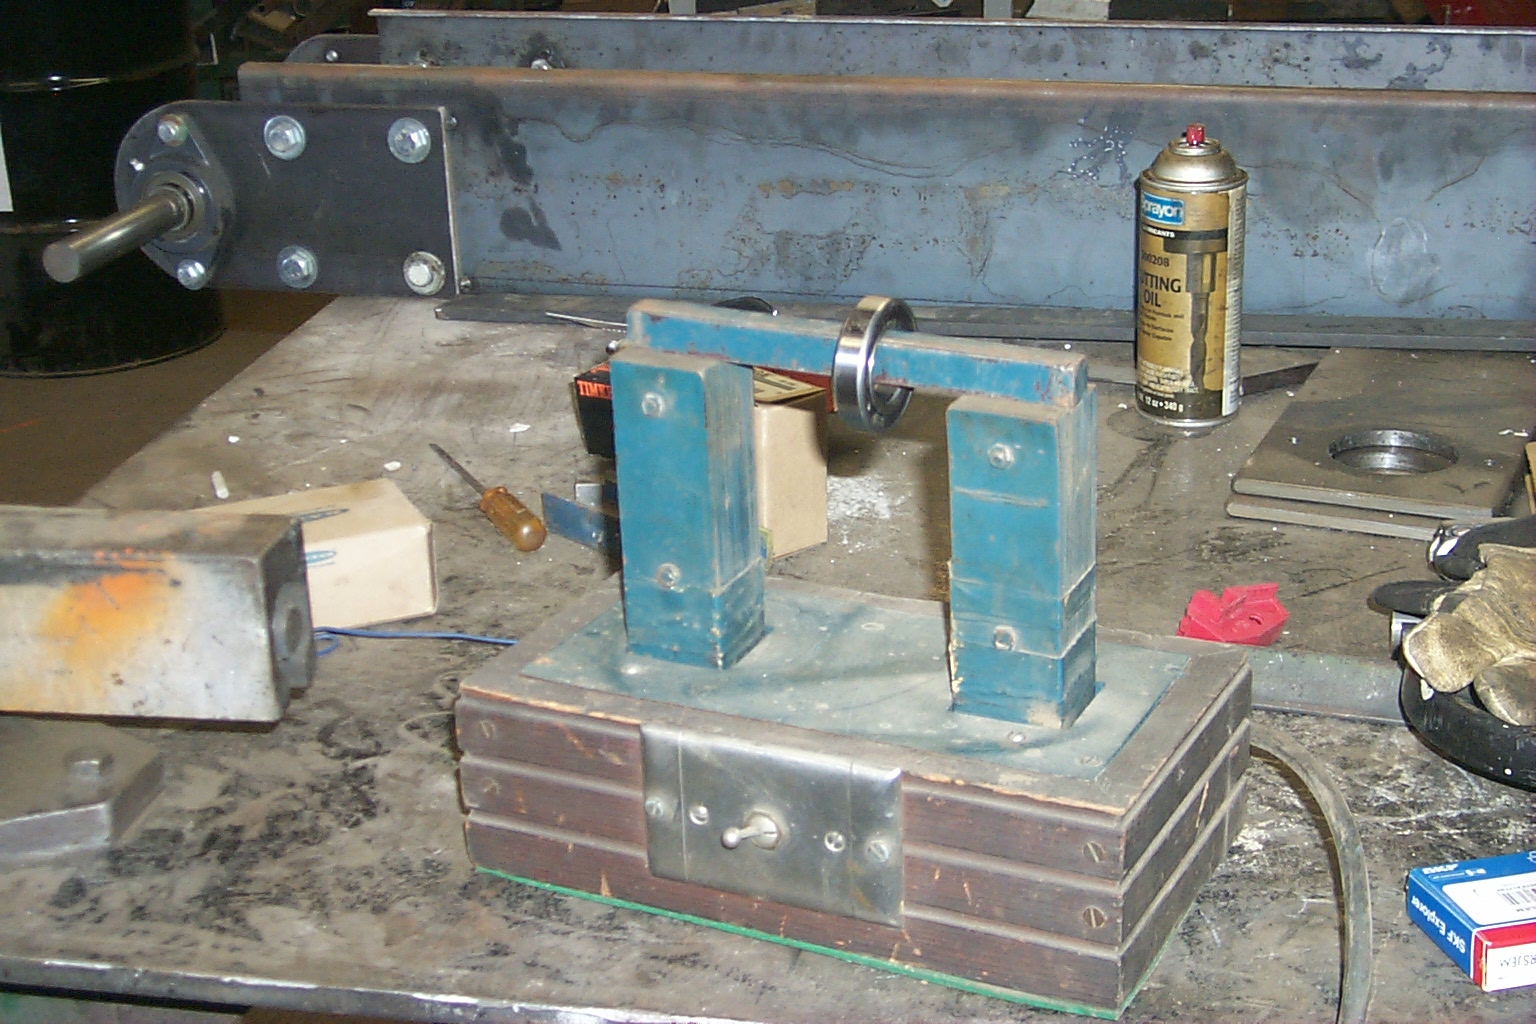
Several years ago, I built a bearing warmer for a customer, so I went by their facility to try to install the bearing with it. For those who don't know, one way to get a bearing on a shaft is to heat the bearing to approx 200 degrees F and then slip it on the shaft. As the bearing warms it actually expands and will slip over the shaft easily. Of course as soon as it touches the "cold" shaft it starts to shrink again and you only get one shot at getting the bearing on all the way.
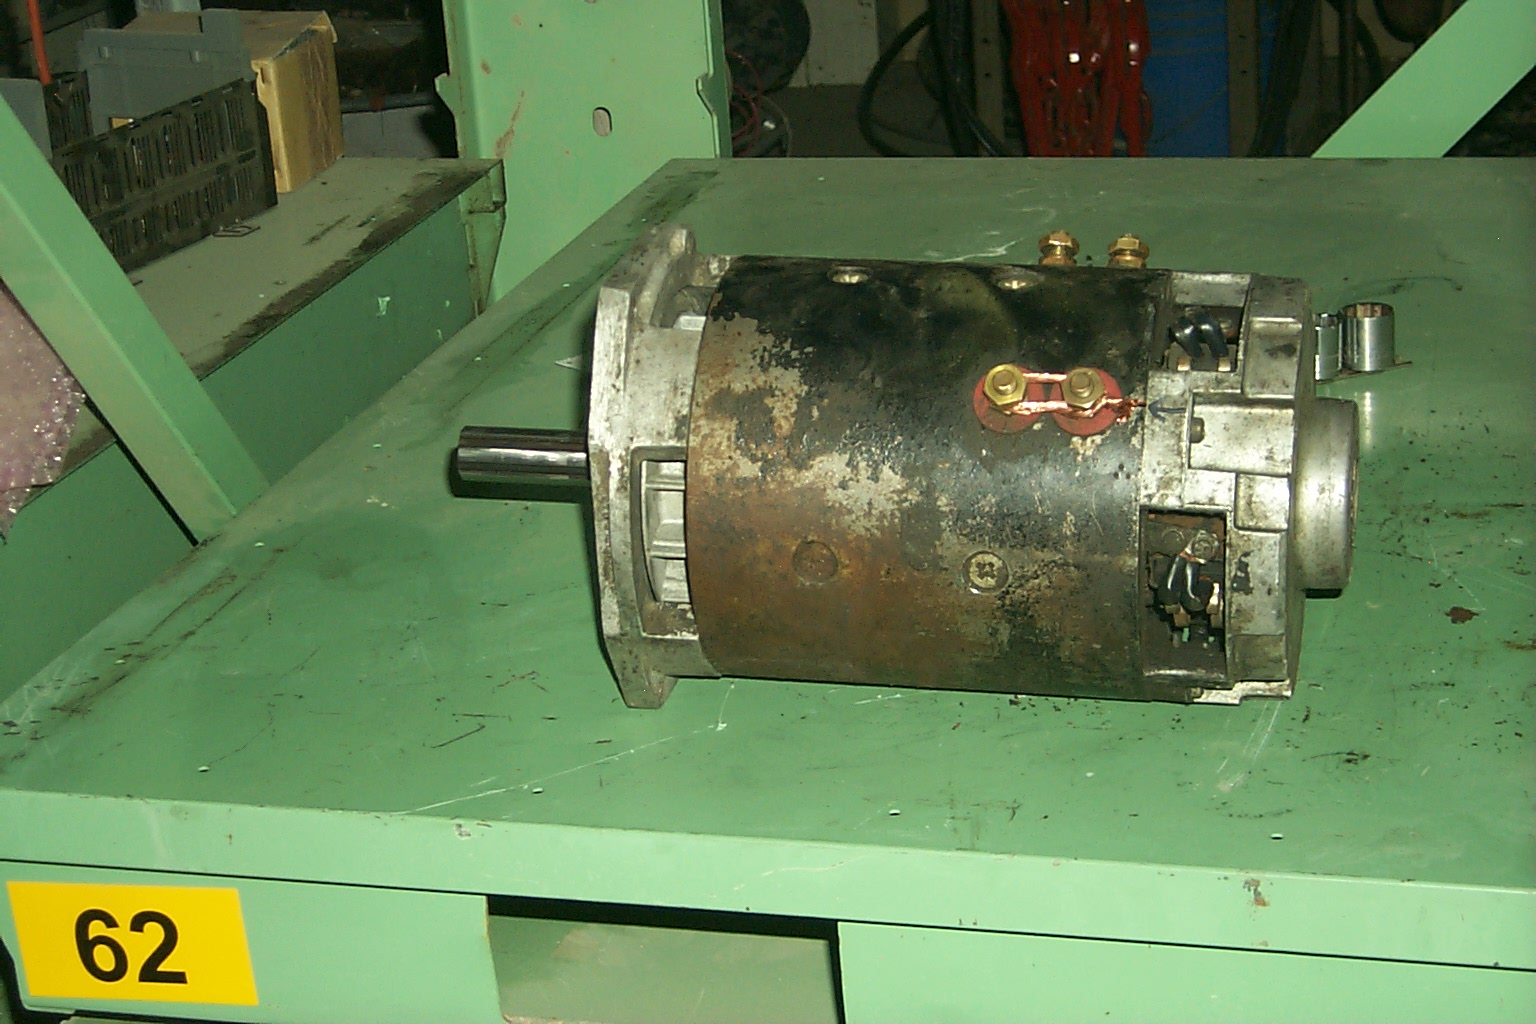
What I didn't realize was that the shaft was 1.1819" where I wanted the bearing, but the outer end where the end of the splines were was actually larger. The interrupted cut on the lathe had left the end too large for the bearing to slip over even when heated. So back to the lathe to find the problem. When the shaft measured exactly 30mm where the bearing was to fit and the bearing still wouldn't slip on is when I figured out about the interrupted cut problem. Since the bearing was to be well beyond that area, I was able to take the end of the splines down well under the 30mm and then the bearing pressed on easily with the lathe tailstock and a sleeve over the shaft. Now back to the bench to put the motor together and find that the bearing is holding the end bell .060" off the end of the stator. So back to the lathe with the end bell and take .061" off the bottom of the bearing socket. Now the motor fits back together smoothly and the shaft spins by hand with the brushes lifted. As long as the rotor was on the lathe I went ahead and hit the commutator with a commutator stone to clean it up a little. Finally the motor is back together and ready for a test run.
I took some #10 wire and jumpered the A1 to F1 terminals and fed the battery charger output in on A2 and F2. This is an old charger that the rectifier had been burned out. I replaced it with a selenium stack and with the several diode drops in the stack the output is down around 11 volts, but the shaft turns. I tried to get information from the manufacturer of the motor (Prestolite) but was told that the motor was too old for them to have any information on it. From the EV mailing list came a very helpful man named Jim Husted. From him I was able to find out that the motor is rated 24-48 volts and a few test points to confirm that the motor is still healthy. Finally got some measurements on the voltage vs speed of the motor. At 5.5 volts it turns 1165 RPM and at 11.67 volts it turns 2455 RPM. I don't have a higher voltage source readily available so any higher tests will have to be done later. |